Canning Terms Every Beginner Should Know
A plain-language glossary of canning terms for beginners: headspace, siphoning, water-bath vs pressure, hot pack, seal, altitude adjustment, and more.
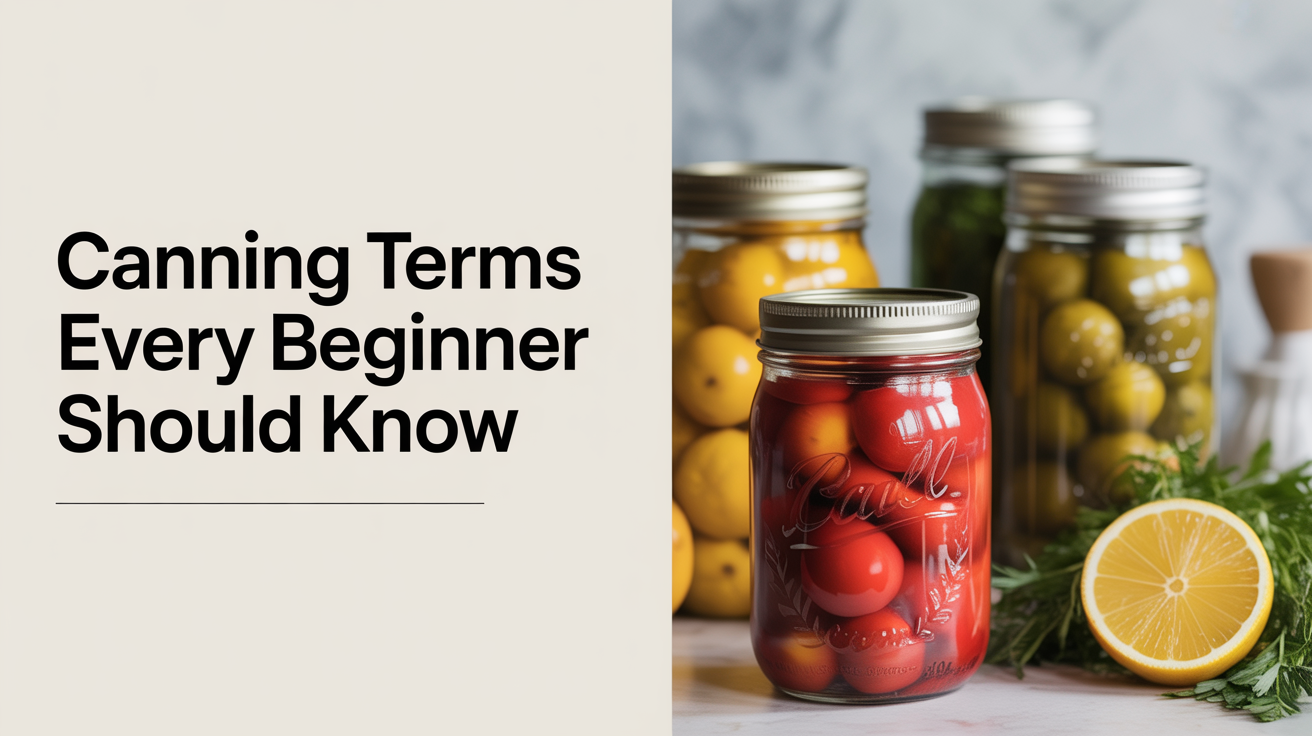
Reading a canning recipe for the first time can feel like reading a foreign language. Words like "headspace," "venting," and "raw pack" appear without explanation, and guessing at their meaning is not a safe approach in home canning. This glossary defines the terms you will encounter most often. Once you know what each word means, you can follow tested recipes with confidence rather than confusion.
The Two Methods and What Sets Them Apart
Understanding the two canning methods is the foundation of everything else.
Water-bath canning submerges sealed jars in boiling water for a set amount of time. Boiling water reaches 212°F (100°C) at sea level, which is hot enough to destroy molds, yeasts, and most bacteria in high-acid foods. It cannot reach temperatures high enough to eliminate Clostridium botulinum spores in low-acid foods.
Pressure canning uses steam pressure inside a sealed vessel to raise the temperature well above boiling, typically to 240°F (116°C). That elevated temperature destroys botulism spores. Low-acid foods, including plain vegetables, beans, meats, and seafood, must be processed in a pressure canner. Using a water-bath for these foods is not a safe shortcut.
High-acid foods have a pH of 4.6 or below. That natural acidity inhibits bacterial growth enough to make water-bath canning safe. Fruits, jams, jellies, fruit-based pickles, and properly acidified tomatoes fall into this group. Low-acid foods have a pH above 4.6 and require pressure canning. See Why Acidity Matters in Canning: High-Acid vs Low-Acid Foods for a deeper look at this distinction.
Packing Terms
Raw pack (also called cold pack) means filling jars with uncooked food before adding hot liquid and processing. Produce packed raw will shrink during processing, so jars may look less full after they come out of the canner. Raw pack works well for firm produce like pickles or whole tomatoes.
Hot pack means cooking or heating the food briefly before ladling it into jars. Hot-packed food is more pliable, which typically allows you to fit more into each jar. It also helps drive air out of the tissue of the food before sealing. Many tested recipes specify one method or the other; follow the recipe exactly rather than switching between them.
Headspace, Siphoning, and Bubble Removing
Headspace is the measured gap between the surface of the food or liquid and the underside of the lid. Recipes specify headspace precisely, usually expressed in fractions of an inch. Too little headspace and food can expand into the lid during processing, preventing a proper seal or causing the lid to buckle. Too much headspace and there is excess air in the jar, which can interfere with the vacuum that forms as the jar cools.
Bubble removing refers to the step of running a thin spatula, a wooden chopstick, or a dedicated bubble remover tool around the inside edge of a filled jar before wiping the rim and applying the lid. Air pockets trapped between pieces of food can affect headspace calculations and heat penetration. Bubble removing is a standard step in most tested recipes.
Siphoning is a common result rather than a deliberate action. It happens when liquid is drawn out of a sealed jar during processing, leaving the jar with noticeably less liquid than you put in. Some siphoning is normal and does not automatically mean the food is unsafe, but it can affect quality and sometimes interferes with the seal. Common causes include fluctuating temperatures during processing, removing jars from the canner too quickly, or overfilling jars beyond the specified headspace. Always check the seal before storing any jar that siphoned heavily.
Seals and Vacuum
Seal in canning means the lid has bonded to the rim of the jar, creating an airtight closure. The sealing compound on the underside of flat canning lids softens during processing and bonds as the jar cools. A proper seal keeps oxygen and microorganisms out and is what makes shelf-stable storage possible.
Vacuum is what forms inside the jar as it cools after processing. The heat drives air out; the lid flexes downward as the contents contract and atmospheric pressure pushes from outside. That inward flexion is what creates the characteristic "ping" sound and causes the lid center to remain depressed rather than bouncing when pressed. Testing the seal before storing is always a good idea: press the center of the lid; if it flexes up and down, the jar did not seal properly and should be refrigerated and used within a few days.
Processing Time and Altitude Adjustment
Processing time is the amount of time jars must remain in the boiling water or under pressure during the canning step. Processing times come from testing done by food scientists, who inoculate food with pathogens and confirm that the time is long enough to achieve safety across the densest part of the jar. Processing times vary by food type, jar size, pack style, and altitude. Never shorten processing times based on guesswork or convenience.
Altitude adjustment matters because water boils at a lower temperature at higher elevations. At sea level, water boils at 212°F. Above 1,000 feet, that temperature drops, and the standard processing time may no longer be sufficient to make food safe. Tested recipes include altitude adjustment tables. If you live above 1,000 feet, look up the adjustment for your elevation and apply it every time you can. The USDA Complete Guide to Home Canning and the National Center for Home Food Preservation (NCHFP) both publish altitude tables. For water-bath canning, altitude adjustments increase processing time. For pressure canning, they increase the pressure setting.
Venting and Exhausting
Venting is the step at the start of pressure canning where steam is allowed to flow freely from the open petcock or vent pipe for a set number of minutes, typically ten, before the weight or gauge is put in place to build pressure. Venting drives all the air out of the canner so that the interior is filled entirely with steam. A steam environment heats more evenly and predictably than a mixed air-and-steam environment. Skipping or shortening the venting step can result in uneven heat distribution and under-processing.
Exhausting is a less common term used mostly in older texts to describe a similar concept: removing air from the canner or, occasionally, from packed jars before sealing. In modern canning, venting the pressure canner is the more precise and commonly used term.
Frequently Asked Questions
What is the difference between headspace and ullage? Headspace is the standard home-canning term for the gap between food and the lid. Ullage is an older term used in brewing and winemaking to describe unfilled space in a container. In a home-canning context, headspace is the correct word to use when following tested recipes, since specified measurements are calibrated to that term.
Can I reuse lids from a previous batch of canning? One-piece decorative lids and European-style bail-top lids can sometimes be reused if the gaskets are in good condition. Standard two-piece flat lids with sealing compound are not designed for reuse in processing. The sealing compound compresses during the first use, and a second use may not form a reliable seal. New flat lids are inexpensive; there is no practical reason to reuse them.
If a jar siphoned, is the food still safe? Siphoning does not automatically make food unsafe. Check the seal first. If the lid is sealed and no air is getting in, and if the jar was processed using a tested recipe with the correct time and method, the food is likely safe. Inspect the contents for any signs of spoilage before using. When in doubt, throw it out.
What does "tested recipe" mean, and why does it matter? A tested recipe is one that has been validated in a food science laboratory to confirm that the specified method, time, and pressure destroy harmful microorganisms across the full volume of the jar under realistic home canning conditions. Recipes from the USDA, NCHFP, and the Ball Blue Book have been tested this way. Recipes from blogs, older books, or family handwritten cards may not have been, which means their processing times are unverified. Always start with a tested source, especially for low-acid foods.
Do I need to adjust my recipe if I use larger jars? Yes. Processing times are jar-size specific because larger jars take longer to heat through to the center. A recipe that specifies a processing time for pint jars cannot simply be applied to quart jars without consulting the tested recipe's quart-jar time. Always follow the time given for the exact jar size you are using. For more on where to begin safely, see Home Canning for Beginners: How to Get Started Safely.