Checking Seals After Water-Bath Canning
Learn how to check canning seals after water-bath canning, what a good seal looks and sounds like, and what to do if a lid fails.
The moment your jars come out of the canner, you are only halfway done. A proper seal is what makes a home-canned product shelf-stable, and verifying that seal is one step beginners sometimes rush or skip. This guide covers the waiting period after processing, the three accepted testing methods, and the right way to handle a jar that did not seal.
For the full processing process, see the step-by-step water-bath canning guide.
Let the Jars Cool Completely Before Testing
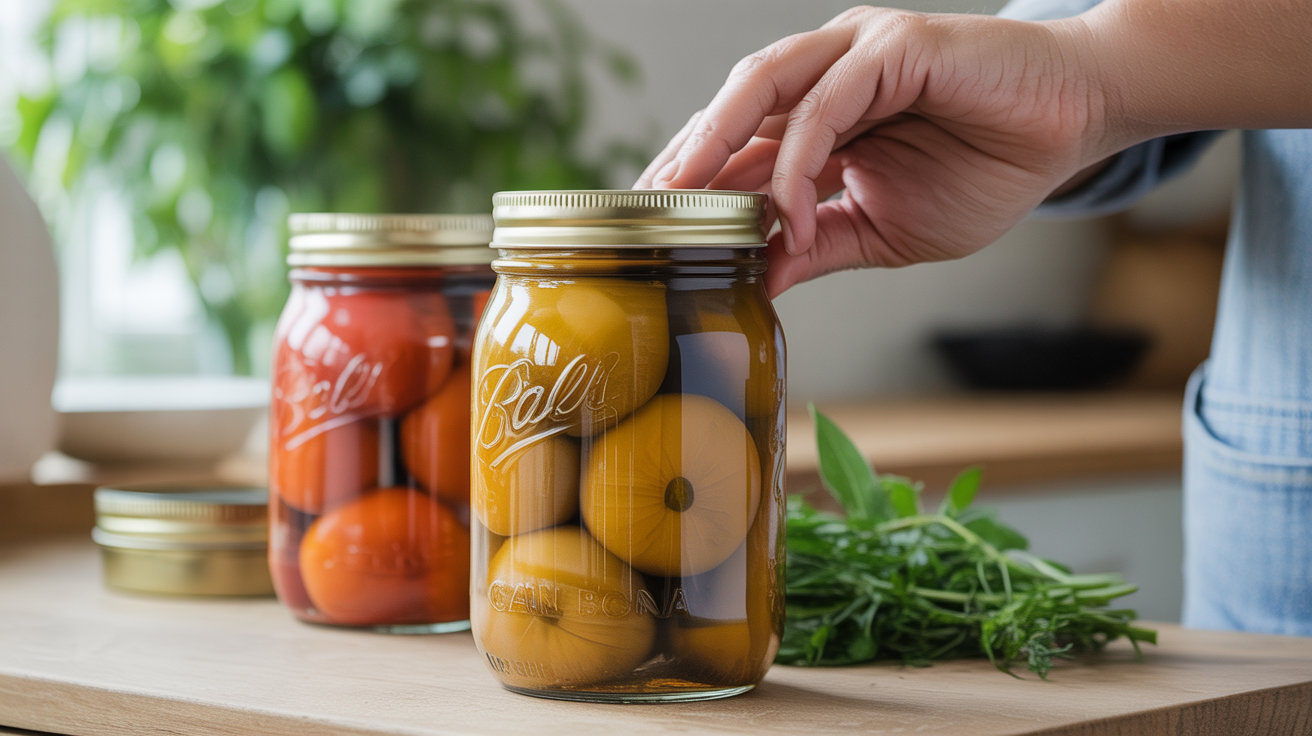
After you lift jars from the canner and set them on a towel or rack, leave them alone. The lids will often ping or pop audibly as the jars cool and the vacuum forms inside. That sound is a good sign, but it is not a guarantee, and you should not test the seal until the jars are fully cooled to room temperature.
Pressing a lid while the jar is still warm can give a false positive. The metal may feel concave before a true vacuum has formed. Give the jars enough time to cool fully. Rushing this step produces unreliable results. USDA and National Center for Home Food Preservation (NCHFP) guidance calls for waiting until jars are fully cooled before checking.
Once the jars are cool, remove the screw bands. Testing with the band still on can hide a failed seal or give you a false sense of security.
Three Ways to Test a Canning Lid Seal
There are three methods recognized by the USDA and NCHFP for how to check canning seals. Use any one of them; you do not need all three on every jar.
1. The Press Test
Press the center of the lid firmly with your finger or thumb. A sealed lid will be concave (curving slightly downward) and will not flex. If the center pops up and down when you press it, a vacuum has not formed and the jar has not sealed.
2. The Tap Test
Tap the center of the lid with a metal spoon. A sealed jar produces a clear, high-pitched ring. An unsealed jar tends to produce a dull thud. Note that a sealed jar filled with liquid near the surface can also sound slightly different, so this test is most reliable when combined with the press test.
3. The Lift Test
Pick up the cooled jar by the lid alone, holding just the outer edge of the lid. A properly sealed jar can support its own weight this way. If the lid separates or feels unstable, treat the jar as unsealed. Use this test with some caution since a slipping jar can break.
Visual Signs of a Good Seal
Beyond the three tests, a properly sealed lid has a few visual characteristics:
| Feature | Sealed | Not Sealed |
|---|---|---|
| Lid center | Concave, curves downward | Flat or slightly convex |
| Lid motion when pressed | No flex | Flexes up and down |
| Sound when tapped | Clear ring | Dull thud |
| Screw band removed | Lid stays firmly in place | Lid can be lifted easily |
A sealed lid should not move at all when you try to flex it. If there is any give in the center, consider the jar unsealed regardless of how it looks otherwise.
What to Do With an Unsealed Jar
A failed seal is not a catastrophe, but it does require prompt action. Do not leave an unsealed jar sitting at room temperature thinking it might seal later. It will not.
You have two options, both of which need to happen quickly:
Refrigerate and use soon. This is usually the simpler choice. Put the unsealed jar in the refrigerator and treat the contents like any fresh or opened food. Use it within a few days according to what the food is. Check the contents before eating; if anything smells off or looks unusual, throw it out.
Reprocess within 24 hours. According to NCHFP guidance, you can reprocess an unsealed jar within 24 hours of the original processing. To do this, transfer the contents to a clean jar, use a new lid, and reprocess the full time called for in a tested recipe. The quality of the food may be lower after two full processing rounds, and this only works if the food itself is still in good condition. Never reprocess something that shows any sign of spoilage.
If you are unsure how long the jar has been sitting unsealed, refrigerate it and use it quickly. When in doubt, throw it out. No home-canned product is worth the risk.
Storing Your Sealed Jars
Once you have confirmed a good seal on every jar, wipe the lids clean and store the jars without the screw bands. Bands left on during storage can trap moisture, corrode, and make it harder to notice if a seal fails later. Store jars in a cool, dark, dry place.
Label each jar with the contents and the date. Most home-canned high-acid foods are at their best quality within a year, though they remain safe to eat beyond that if the seal is intact and the food looks and smells normal when you open it.
Before opening any home-canned jar, check the lid again. It should still be concave and firm. If the lid is bulging, spurts liquid when opened, or the contents smell off, do not taste it. Throw the jar away safely, in a sealed bag in the trash where people and pets cannot reach it.
For more on which foods belong in a water-bath canner and which require pressure canning, see what foods you can water-bath can. If you are canning tomatoes specifically, the rules around acidification matter a great deal; the tomato canning guide covers why acid is required.
Frequently Asked Questions
Can I just listen for the ping and assume the jar sealed? No. The ping sound is a good sign that a vacuum may be forming, but some jars seal silently and some jars ping without forming a lasting seal. Always confirm with the press test or another method once the jar is fully cooled.
I forgot to remove the band before testing. Does that matter? It can. A screw band left on may hold a loose lid in place and make a failed seal harder to detect. Remove the band after the jars are fully cooled, then test the lid directly.
My lid looks concave but still flexes slightly when I press it. Is it sealed? Treat it as unsealed. A properly sealed lid should have no flex whatsoever. A lid that moves even slightly has not formed a full vacuum.
Can I reuse a lid that failed to seal? No. Standard single-use canning lids are designed to seal once. The sealing compound is compressed during the first processing. A lid that failed may not seal reliably in a second attempt, and the NCHFP recommends using a new lid whenever you reprocess.
How long after canning should I check the seals? After jars are fully cooled to room temperature, which takes several hours. Many canners check seals the following morning after jars processed in the afternoon or evening. Do not wait more than a day or two to confirm seals and refrigerate any that failed.