How to Make Canned Pickles (Brining Basics)
Learn how to can pickles at home with a safe vinegar brine. Covers brine ratios, the fresh-pack method, crisp pickle tips, and water-bath processing basics.
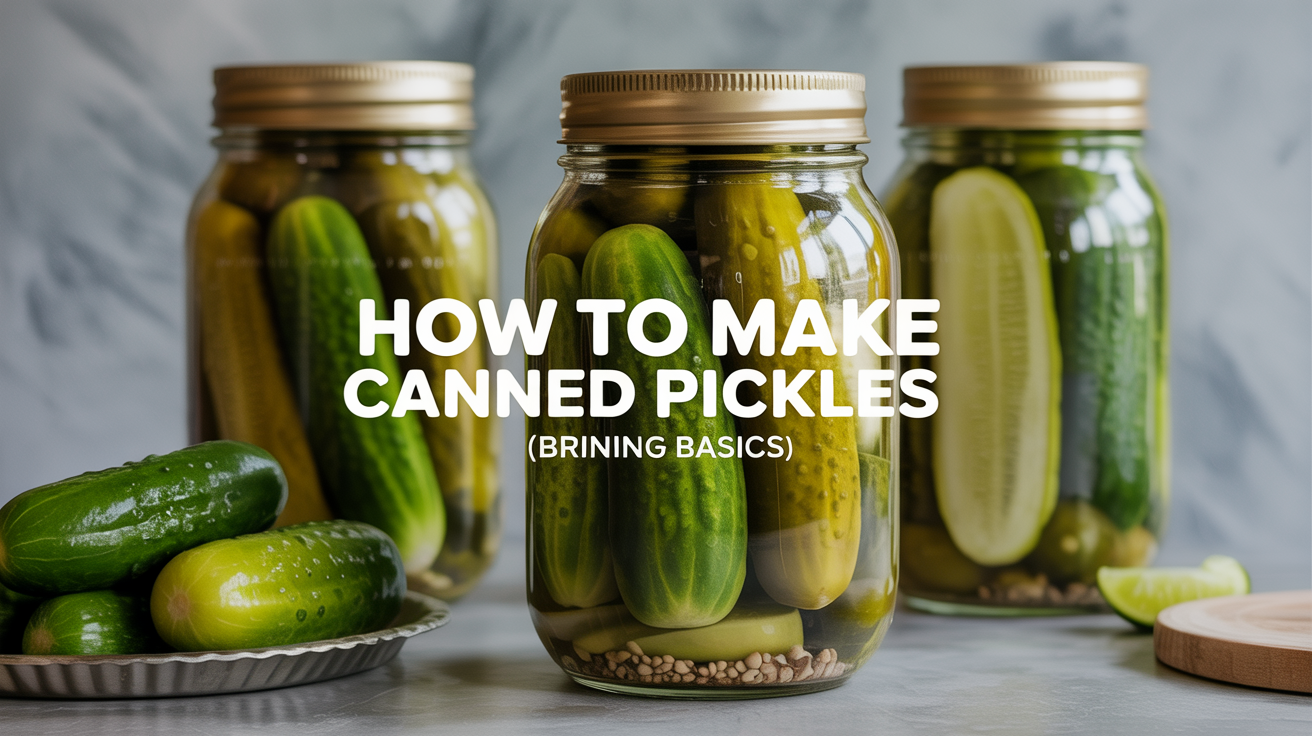
There is nothing quite like reaching for a jar of your own pickles in the middle of January. Canning pickles at home is one of the most beginner-friendly projects in the whole world of home preservation, and the payoff (that satisfying crunch, that bright sour tang) is immediate and real. This guide walks you through the fresh-pack method, covers the brine basics you need to understand before you start, and points you toward the tested recipes that keep the whole operation safe.
Fresh-Pack Pickles vs. Fermented Pickles: Know the Difference
Before you buy cucumbers, it helps to know there are two distinct paths to a jar of pickles.
Fresh-pack pickles (also called quick-process pickles) are what most beginners make. You pack raw or briefly blanched cucumbers into jars with spices, pour a hot vinegar brine over them, and process the sealed jars in a water-bath canner. The acid comes from the vinegar, and it works right away. You can go from cucumbers to sealed jars in a single afternoon.
Fermented pickles take a different route entirely. Salt-brined cucumbers sit at room temperature for days or weeks while naturally occurring bacteria do the acidifying work. The result is a different flavor, more complex and more sour, and the process is entirely separate from what we cover here. If you have heard of brine-and-bubble fermentation or seen recipes that call for crocks and weights but no vinegar, that is fermented territory. Both styles are legitimate and delicious; they just are not the same thing.
This article is about fresh-pack, vinegar-based pickles that you seal and water-bath can for shelf stability.
Why the Brine Ratio Is a Food Safety Issue
This is the part where the fun meets the serious, and you want to understand it clearly before you start.
Pickles are considered a high-acid food, which is why you can safely water-bath can them; the acid inhibits the bacteria responsible for spoilage and illness, including Clostridium botulinum. But that protection only holds if the finished product is acidic enough. The acid in fresh-pack pickles comes from your vinegar, which means the ratio of vinegar to water in your brine is not a stylistic choice. It is a safety variable.
Use Vinegar of at Least 5% Acidity
Standard grocery store white vinegar and apple cider vinegar are typically 5% acidity, and that 5% is the floor for safe canning. Check the label before you buy. Homemade vinegars and some craft vinegars are not reliably acidic enough and should not be used for canning.
Follow a Tested Recipe's Ratio Exactly
Tested recipes from the USDA Complete Guide to Home Canning, the National Center for Home Food Preservation (NCHFP), or Ball are developed by food scientists who have measured the final pH of the finished product. When you dilute the brine more than the recipe calls for (say, by adding extra water to soften the taste), you can push the acidity of the finished pickle below the safe threshold. Follow the ratio as written. If the tartness of a tested recipe bothers you, choose a different tested recipe rather than adjusting the one you have.
Use Canning or Pickling Salt
Table salt contains anti-caking agents that cloud the brine and can affect flavor. Iodized table salt can darken pickles. Use canning salt, pickling salt, or kosher salt if the recipe allows it. Always measure by weight rather than volume if your recipe specifies weight, since different salts have different densities.
For official tested recipes with exact brine ratios and processing times, go directly to the NCHFP website or the current edition of the USDA Complete Guide to Home Canning. This article teaches the method and principles; the tested recipe gives you the exact numbers.
How to Can Pickles: A Step-by-Step Overview
Here is the fresh-pack process from start to finish. Every step here is a general orientation; your tested recipe's specific times, headspace, and jar sizes take priority.
What You Will Need
Before you start, gather:
- A water-bath canner (or a large stockpot with a rack that fits inside)
- Mason jars in the size your recipe specifies (pint jars are common for pickles)
- New lids and bands (lids should always be new to ensure a proper seal)
- A tested pickling recipe
- Fresh, firm pickling cucumbers (not slicing cucumbers, which are bred for fresh eating and go soft when canned)
- Your brine ingredients: 5%-acidity vinegar, water, canning salt, and any spices
- Optional additions the recipe allows: fresh dill, garlic cloves, mustard seed, peppercorns, red pepper flakes
Step-by-Step Instructions
-
Inspect your cucumbers. Pickling cucumbers should be firm, fresh, and free of soft spots. If you grow your own, pick them small; oversized cucumbers often have hollow centers and get mushy when processed. Use them the same day you pick or buy them if possible; the fresher the cucumber, the crisper the pickle.
-
Trim the blossom end. This step surprises many beginners, but it matters. The blossom end of the cucumber contains enzymes that break down the pectin in the cell walls and cause soft pickles. Trim off a thin slice (about one-eighth of an inch) from the end opposite the stem. A small sliver is enough to deactivate the enzymes.
-
Prep your jars and canner. Wash jars in hot soapy water and inspect for nicks or cracks. Keep jars hot until filling; you can hold them in a pot of hot water or in a low oven (without lids). Fill your canner halfway with water and begin heating it. Warm your lids in hot (not boiling) water according to the manufacturer's current guidance.
-
Make the brine. Combine your vinegar, water, and canning salt in a non-reactive saucepan (stainless steel or enamel, not aluminum or uncoated cast iron). Bring to a boil, stirring to dissolve the salt.
-
Pack the jars. Place your spices and aromatics in the bottom of each hot jar first: a head of fresh dill, a clove of garlic, a pinch of mustard seed. Pack cucumbers in snugly but not so tightly that you crush them. Whole small cucumbers, spears, or slices all work; your recipe will specify.
-
Add the hot brine. Ladle the hot brine over the cucumbers, leaving the headspace your recipe specifies (typically one-half inch for pickles). Maintaining the correct headspace is important for proper sealing and processing.
-
Remove air bubbles. Run a thin spatula or wooden chopstick around the inside edge of the jar to release trapped air. Check the headspace again and add more brine if needed.
-
Wipe the rims and apply lids. A bit of brine on the rim can prevent sealing. Wipe each rim with a clean, damp cloth. Center a new lid on the jar, then screw on the band fingertip-tight, firm but not wrenched down.
-
Process in the water-bath canner. Lower jars into the canner using a jar lifter. The water should cover the lids by at least one inch. Bring the water to a full boil, then start your timer. Process for the time given in your tested recipe, adjusted for your altitude if necessary.
-
Cool and check seals. Turn off the heat and let jars rest in the canner for five minutes before removing them. Set jars on a towel to cool, leaving an inch of space between them. Do not tighten the bands or press the lids while jars cool. After 12 to 24 hours, check that each lid has sealed: the center should be concave and should not flex when you press it. Refrigerate any jar that did not seal and use it within a few weeks.
-
Wait before you eat them. This is the hard part. Fresh-pack pickles need two to four weeks of resting time for the brine to fully penetrate the cucumbers and develop flavor. Pickles eaten right out of the canner taste mostly of hot vinegar. Give them time.
Tips for Crisp Pickles
Soft pickles are the most common beginner complaint, and most cases come down to a few fixable causes.
- Start with firm, fresh cucumbers. Cucumbers that have been sitting in the refrigerator for a week before you can them are already losing texture. Shop or pick close to canning day.
- Trim the blossom end. As noted above, this single step makes a real difference.
- Do not overprocess. Processing longer than the tested recipe requires does not make pickles safer; it just makes them softer. Follow the time exactly and adjust only for altitude using the instructions in your recipe.
- Keep cucumbers cold before packing. Some canners soak cucumbers in ice water for a few hours before packing. This firms the flesh slightly.
- Avoid overripe or oversized cucumbers. Big cucumbers can have seedy, hollow centers that turn mushy in the jar.
Some older recipes call for alum or calcium chloride as crispening agents. Current USDA guidance considers alum unnecessary when modern methods are followed, and it should not be used in amounts beyond the tested recipe's recommendation. Calcium chloride (sold as Pickle Crisp) is considered acceptable in the amounts shown in tested recipes.
Understanding Internal Links: Related Reading
If you are new to water-bath canning entirely, the mechanics of the canner, jars, and lids will make more sense if you read how to water-bath can, a step-by-step guide for beginners before you start. And since acid content is the whole reason pickles are safe to water-bath can, why acidity matters in canning is worth understanding before you adjust any recipe.
FAQ
Can I use regular table salt instead of canning or pickling salt?
Technically the salt is not a safety variable in pickles the way it is in fermented products, but table salt causes cloudy brine and can leave dark spots on the cucumbers. Most tested pickle recipes specify canning salt for a reason: the results just look better. Use what the recipe calls for.
What is the difference between pickling cucumbers and regular cucumbers?
Pickling cucumbers have thinner skins, drier flesh, and smaller seed cavities than slicing varieties. They are bred to stay firm through the canning process. Slicing cucumbers like English cucumbers have thicker, waxier skins and higher water content, which makes them go soft and mushy in the jar. Stick with cucumbers labeled for pickling.
My brine seems cloudy. Is something wrong?
Slight cloudiness in fresh-pack pickles can result from using table salt instead of canning salt, from the starches in garlic, or simply from the natural solids in apple cider vinegar. It is usually harmless. However, if a jar is spurting liquid when opened, smells off, or has visible mold, do not taste it. Discard it safely and start fresh.
Do I have to process pickles in a water-bath canner? Can I just seal the jars with hot brine?
No. Pouring hot brine into jars and letting the lids "pop" on their own is sometimes called open-kettle canning, and it is not considered safe by the USDA. Jars that seal on their own have not been heat-processed long enough to destroy spoilage organisms inside the jar. Water-bath processing the sealed jars is what makes the pickles shelf-stable and safe.
How long are home-canned pickles good for?
Most tested recipes recommend using home-canned pickles within 12 to 18 months for best quality. They may remain safe beyond that if the seal holds and the jar shows no signs of spoilage, but texture and flavor decline over time. Write the date on the lid with a marker so you always know what you have.