How to Tell If a Canning Seal Failed
Learn three simple checks to confirm a good canning seal, what to do with an unsealed jar, and why band removal matters for long-term safety.
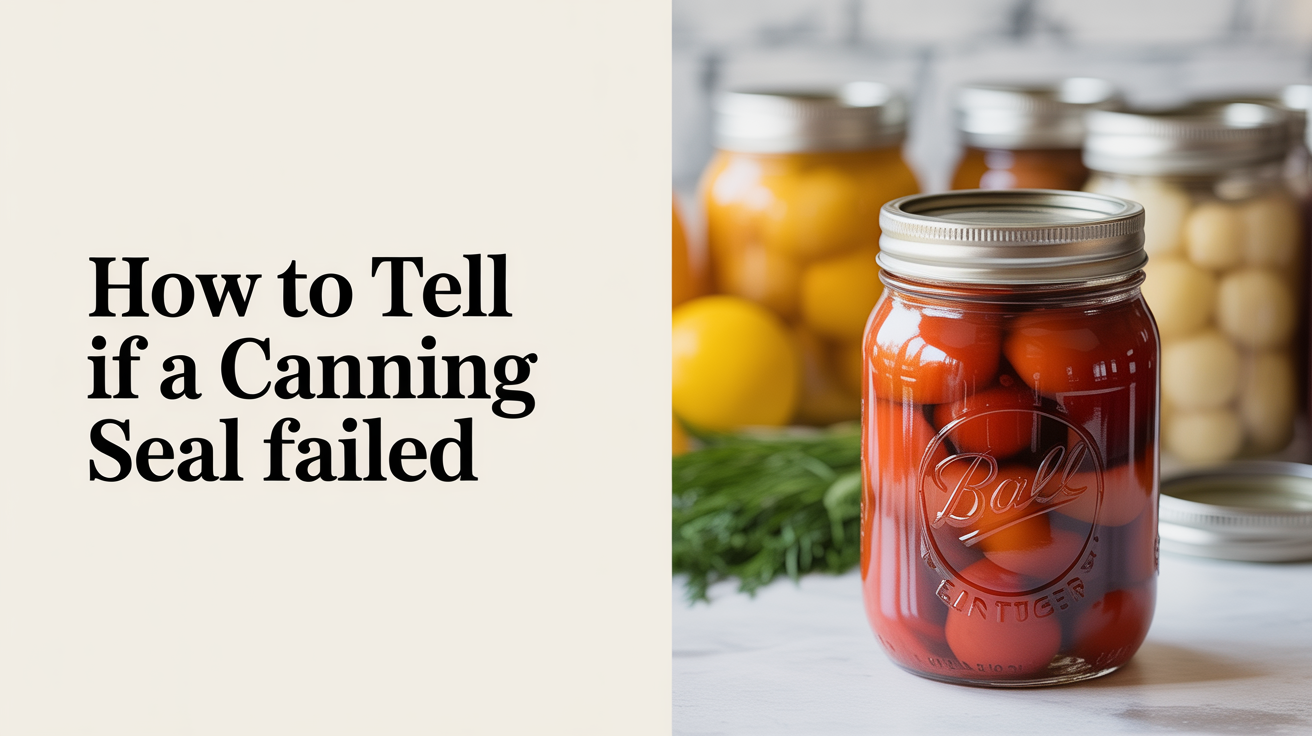
You've just finished a batch of salsa or green beans. The jars are cooling on the counter, and the familiar ping sounds are ringing out one by one. But a satisfying noise isn't the whole story. After the jars have cooled for 12 to 24 hours, you still need to run three quick physical checks before you trust a seal, because a lid that sounds fine can sometimes lie. Here's exactly what to look for, what to do when something failed, and one storage habit that can save you from a nasty surprise months down the road.
The Three Seal Checks (Run All Three)
Don't rely on a single test. The National Center for Home Food Preservation (NCHFP) recommends checking each jar three ways after it has cooled completely. That means at least 12 hours, ideally a full 24. Running all three takes about 30 seconds per jar and gives you real confidence.
Check 1: Press the Center of the Lid
Remove the screw band first (more on why below), then press firmly on the center of the flat lid with your fingertip.
A sealed lid feels solid and concave, slightly dished inward, and does not move when you press it. A failed lid flexes up and down or produces a soft pop when you push it. That flex means the vacuum that should be holding the lid tight against the jar rim either never formed or has already been lost.
If a lid pops back up when you release pressure, treat that jar as unsealed regardless of what the other two checks show.
Check 2: Tap the Lid
With a metal spoon or the back of a butter knife, tap the center of the lid lightly.
A sealed jar rings with a clear, high-pitched sound. An unsealed jar often gives a dull thud instead. The difference is real, though it takes a few practice jars to train your ear. This test is most useful as a cross-check rather than the deciding factor. A lid resting on top of food, or a tiny bit of food lodged under the sealing compound, can affect the sound even on an otherwise good seal.
Check 3: Lift by the Lid Edges
After removing the band, hold the jar at eye level and try lifting it gently by gripping just the outer edges of the flat lid. A good seal holds firm under the weight of a filled jar. A failed seal will slip, or the lid will pull away from the jar.
Do this test over a stable surface so you can catch the jar if the lid gives. If the lid releases at all, the seal is not reliable. Set the jar aside and handle it as described in the next section.
What to Do With an Unsealed Jar
Finding an unsealed jar is not a disaster. You have three safe options, and the USDA Complete Guide to Home Canning outlines each one.
Option 1: Refrigerate and use it soon. Put the jar in the fridge immediately and plan to eat the contents within a few days. Treat it exactly like fresh food from that point on.
Option 2: Re-process within 24 hours. This option comes with conditions. You must use a brand-new lid, since lids are designed for single use and a spent sealing compound won't seat properly a second time. You must also run the full processing time again from scratch, not a shortened version. Re-processing affects texture and quality, especially in soft fruits or vegetables, so decide whether the batch is worth a second round. Check the NCHFP guidance or Ball's current canning resources for whether re-processing is appropriate for your specific recipe.
Option 3: Freeze it. If the food is freezer-safe and you'd rather not re-process, transfer it to a freezer-safe container and freeze it. Leave appropriate headspace for expansion. See our guide on what is headspace and why does it matter for details on how headspace rules differ between canning and freezing.
Never leave an unsealed jar at room temperature overnight and hope it seals on its own. A lid that didn't seal during proper cooling won't improve over time, and at room temperature you're giving bacteria the warmest possible window to multiply.
Why Bands Should Come Off Before Storage
This is one of the most overlooked steps in home canning. Screw bands feel like extra security, but leaving them on can actually hide a problem.
Here's what happens: a seal can fail gradually in storage. It might be a microscopic crack in the jar rim, a tiny bit of food residue under the lid sealing compound, or even temperature swings in the pantry. When this happens, the lid should shift or lift slightly, giving you a visible warning. A tight band holds the lid flat against the jar rim regardless, masking the lost seal completely. You might not notice anything wrong until you open the jar months later.
Removing the band before storage costs nothing. Label the jar, store it without the band, and set the band aside to use on the next batch. If the seal fails later, you'll see it.
Seal Failure Discovered in Storage
Sometimes a jar that sealed perfectly in the kitchen loses that seal in the pantry. You open the cabinet and find a lid that's bulging up, a jar with an obvious gap at the rim, or a lid that lifts off with almost no resistance.
Treat that food as unsafe. Do not taste it. Do not smell it to make a judgment. Clostridium botulinum, the bacterium responsible for botulism, produces a toxin that is odorless and tasteless in food, so there is no sensory check that reliably tells you whether the toxin is present. For a full breakdown of the warning signs to watch for, see our article on signs of spoiled canned food.
Dispose of the food safely, following your local health authority's guidance on handling potentially contaminated food.
Seal-Check Checklist
Use this list on every batch, after a full 12 to 24 hours of cooling:
- Remove the screw band from each jar before testing
- Press the lid center: no flex, no pop, lid feels concave and firm
- Tap the lid center: clear ring, not a dull thud
- Lift by lid edges (band off): lid holds firm under the jar's full weight
- Mark any failed jar immediately and act on it (refrigerate, re-process, or freeze)
- Wipe jar exteriors clean before putting them away
- Store all jars without bands so seal failures show up visually later
- Label jars with the contents and processing date
- Store in a cool, dark place away from temperature swings
FAQ
How long should I wait before checking the seals?
Wait until the jars have cooled completely at room temperature. That takes at least 12 hours and often a full 24. Checking too early, while the jars are still warm, can give you a false result because the vacuum is still forming as the contents cool. Let the batch sit overnight before you run the checks.
Can a jar seal and then fail later in storage?
Yes, and it happens more often than most beginners expect. A seal can break down over weeks or months due to a hairline crack in the jar rim, food residue under the lid, or temperature fluctuations in the pantry. Storing jars without the screw band is your best early-warning system: a loose or lifted lid is a visible sign that something went wrong.
What if I hear the ping but the lid still flexes when I press it?
Believe the press test, not the ping. The pinging sound simply means the lid shifted as the jar cooled. It does not confirm that a vacuum formed strongly enough to hold. If the lid flexes under fingertip pressure after 24 hours, that jar did not seal safely.
Is it safe to re-use a canning lid that failed to seal?
No. Canning lids are designed for a single use. The sealing compound on the inside edge compresses and conforms to the jar rim during processing. After that, it won't create the same airtight contact a second time. Always start with a fresh lid if you re-process.
I left the bands on for several weeks. Should I be concerned?
Remove the bands now and run the press check on each lid. If the lid is concave, firm, and doesn't flex under pressure, the seal is almost certainly intact. Leaving bands on doesn't cause seal failures; it just hides them if they occur later. Going forward, make band removal a standard part of your post-processing routine before the jars go into storage.
The Canning Primer is an independent educational resource. Always follow current tested recipes and processing guidelines from the USDA Complete Guide to Home Canning, the National Center for Home Food Preservation, or Ball's current resources for exact processing times, headspace requirements, and pressure levels. Improperly canned low-acid foods can cause botulism. When in doubt, throw it out — never taste food from a jar you suspect is spoiled.