What Is Headspace and Why Does It Matter?
Headspace is the gap between your food and the jar lid. Get it wrong and your seal fails. Here's what it is, why it matters, and how to measure it correctly.
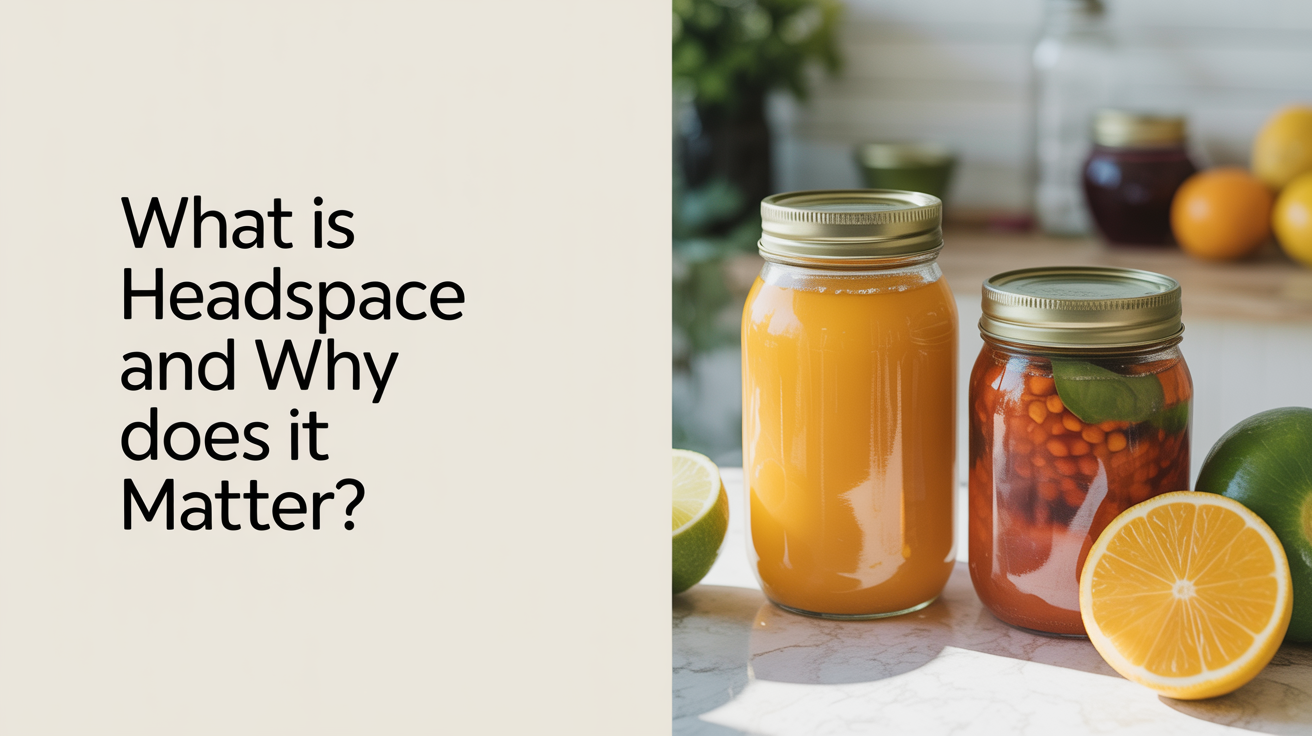
If you've read even one canning recipe, you've seen the instruction: "Leave 1/2-inch headspace." But what exactly is headspace, and why do recipe writers care so much about it? Headspace is simply the empty gap between the surface of your food or liquid and the underside of the lid. It sounds like a minor detail, but getting it right is one of the most direct things you can do to protect your seal and, by extension, your family.
What Headspace Actually Does
When a filled jar goes into the canner and heats up, the food inside expands. At the same time, the air and steam trapped above the food need somewhere to go. During water-bath processing, that gas vents out from under the lid. When the jar cools, the lid pulls down tight as the contents contract, creating a vacuum seal.
Headspace is what makes that whole sequence possible. Without enough room at the top, there is nowhere for the expanding food to go. Too much room and you leave excess air in the jar, which interferes with the venting process and can prevent a full vacuum from forming.
Getting headspace right is not a stylistic preference. It is a functional requirement for a safe, shelf-stable product.
The Vacuum Seal Connection
The vacuum seal is what keeps oxygen and microorganisms out of your jar during storage. A jar that seals properly will have a slightly concave lid that does not flex up and down when you press it. That firm, downward-curved lid is your confirmation that the processing worked.
Headspace is one of the key variables that determines whether the jar reaches a strong enough vacuum. Along with correct processing time and a clean jar rim, proper headspace sets the stage for the seal to form cleanly.
How Much Headspace to Leave
Different foods and different processing methods call for different headspace amounts. The numbers below are general illustrations only. Always follow the headspace specified in your tested, current recipe from a trusted source such as the USDA Complete Guide to Home Canning, the National Center for Home Food Preservation (NCHFP), or the current Ball Blue Book.
| Food Type | Typical Headspace | Processing Method |
|---|---|---|
| Jams and jellies | About 1/4 inch | Water bath |
| Fruits, pickles, most tomatoes | About 1/2 inch | Water bath |
| Low-acid vegetables, meats, beans | 1 to 1-1/4 inches | Pressure canner only |
These ranges reflect the different expansion rates of these foods and the different pressures involved in each canning method. A jam has relatively little liquid movement; whole green beans in a pressure canner expand significantly more.
A Word About Low-Acid Foods
If you are canning low-acid foods (vegetables, meats, poultry, fish, or mixed dishes), a water-bath canner is not safe for any reason, regardless of headspace. Those foods require a pressure canner to reach the internal temperatures needed to destroy Clostridium botulinum spores. Headspace in pressure-canned jars tends to be larger partly because steam-pressure processing generates more interior movement. Follow your recipe exactly.
What Happens When Headspace Is Wrong
Getting the gap wrong can cause problems in two directions. Neither is trivial.
Too Little Headspace
When there is not enough room at the top of the jar, the food or liquid has nowhere to go as it expands. The result is often siphoning: the jar literally spurts liquid out under the lid during processing. That lost liquid leaves a film of food residue on the jar rim and the lid sealing compound, which can prevent the lid from forming a tight seal. A jar that siphons may appear to seal initially, but it is more likely to fail during storage or to have a weak seal that gives way under handling.
Beyond siphoning, extremely tight fill can put mechanical pressure on the lid and ring that stresses the seal from the start.
Too Much Headspace
Leaving too much space means you are trapping more air in the jar. The canning process relies on heating and venting to push that air out before the lid seals down. If there is more air than the processing time and temperature can adequately drive off, you end up with excess oxygen trapped inside. This can lead to:
- Seal failure because a full vacuum never formed
- Discoloration of the food at the top of the jar (oxidation)
- A shorter shelf life even when the lid does technically seal
A jar with too much headspace may produce a "sealed" lid that passes the flex test but still contains more oxygen than is ideal. Following the recipe's specified headspace is not optional — it is part of the safety and quality engineering built into the tested process.
For more on spotting a failed seal before you open a jar, see our guide on how to tell if a canning seal failed.
How to Measure Headspace Accurately
The good news is that measuring headspace is genuinely simple once you have the right tool and a repeatable approach.
The Headspace/Bubble Tool
Most canning starter kits include a plastic or stainless wand with markings at 1/4 inch, 1/2 inch, and 1 inch. This is the headspace measuring tool (sometimes called a bubble freer or a combination tool). You hold it vertically against the inside of the jar so the bottom of the wand rests on the surface of the food or liquid, and you read the headspace at the jar rim.
You can also use a clean ruler, but the dedicated tool is easier to keep clean and to hold steadily while your hands are full.
Step-by-Step Measuring Process
- Fill the jar to your recipe's approximate headspace, leaving a little extra room.
- Run the flat edge of the bubble tool around the inside perimeter of the jar, pressing gently against the food to release any trapped air pockets.
- Measure headspace again after releasing bubbles, since the level may have dropped slightly.
- Add more food or liquid if needed to reach the correct measurement.
- Wipe the jar rim with a clean, damp cloth before applying the lid.
Why Bubble Removal Comes First
Trapped air pockets inside the food itself can throw off your headspace measurement if you measure before you remove them. A few pockets of air releasing after you've added your lid can push food up against the sealing compound, effectively giving you less headspace than you planned for. Working the bubble tool through dense foods like whole tomatoes or green beans before final measuring takes thirty seconds and prevents that problem.
Checking Headspace When Packing Dense Foods
Liquid-packed fruits or simple jams are easy: fill, check, done. But dense packs (raw-pack beans, chunks of meat in broth, corn) need more attention.
With raw-pack vegetables, the food compresses slightly during processing and releases its own liquid. Pack firmly but not so tight that the food deforms, leave the correct headspace above the solid food, and fill with hot liquid to within that same measurement of the rim. The headspace is always measured from the top surface of the liquid, not the top of the solid food.
If liquid covers the food but sits below the specified headspace, add more hot liquid. If the solid food pokes above your intended headspace, remove a piece rather than trying to push it down with the lid.
Common Headspace Mistakes Beginners Make
Even careful home canners run into these. Being aware of them makes them easier to avoid.
- Measuring from the wrong surface. Headspace is measured from the top of the liquid (or food surface for dry packs), not from the bottom of the lid recess.
- Skipping bubble removal. Dense foods in particular trap air that releases during processing and changes the effective headspace.
- Using a recipe from an unverified source. Blog recipes, older family cookbooks, or recipes modified from tested originals may specify headspace that does not match the actual tested processing requirements. Use current, tested recipes.
- Eyeballing it. A quarter inch looks like almost nothing. An eighth inch of extra food in the wrong direction can mean siphoning. Use the tool.
For guidance on recognizing signs that a jar has spoiled after processing, see signs of spoiled canned food: when to throw it out.
FAQ
Does headspace change if I use a different jar size?
The headspace specified in a tested recipe applies to the jar size tested. If a recipe was developed for pint jars and you want to use quarts, you cannot simply assume the headspace stays the same — the processing time often changes too. Stick to the jar size your tested recipe specifies, or find a recipe that was developed and tested for the size you want to use.
What should I do if I overfilled a jar and don't have enough headspace?
Remove some food or liquid before processing. Do not try to process a jar with insufficient headspace hoping it will work out. The risk of siphoning and seal failure is real, and the fix takes only a moment.
Can I reprocess a jar that had the wrong headspace?
If you catch the error before processing and the lid has not been applied, simply adjust the fill. If you have already processed the jar but it did not seal because of headspace issues, you can refrigerate the contents and use them within a few days, or reprocess within 24 hours using a new lid (note that reprocessing can affect quality). For pressure-canned low-acid foods that did not seal, refrigerate and use immediately or discard. Do not store unsealed low-acid jars at room temperature. Always follow current NCHFP or USDA guidance on reprocessing.
Is there a situation where I should deviate from the recipe's headspace?
No. The headspace in a tested recipe is part of the tested process, not a suggestion. Changing headspace without a corresponding change to the tested method can affect the safety and quality of the final product. If you are ever unsure, consult the USDA Complete Guide to Home Canning or the National Center for Home Food Preservation directly.
Why do my jam jars sometimes have floating fruit near the top after processing?
This is a separate issue from headspace, though it can look related. Floating fruit in jams is usually caused by high sugar content combined with rapid filling; the fruit rises as the jar cools. It does not affect safety. But if you notice the jar only has liquid at the top and all the fruit has sunk, check whether the jar sealed properly. For more on evaluating your seals, see how to tell if a canning seal failed.