Can You Can Meat at Home? Pressure Canning Basics
Yes, you can safely can meat at home with a pressure canner. Learn how to pressure can chicken, beef, and other meats using tested USDA recipes.
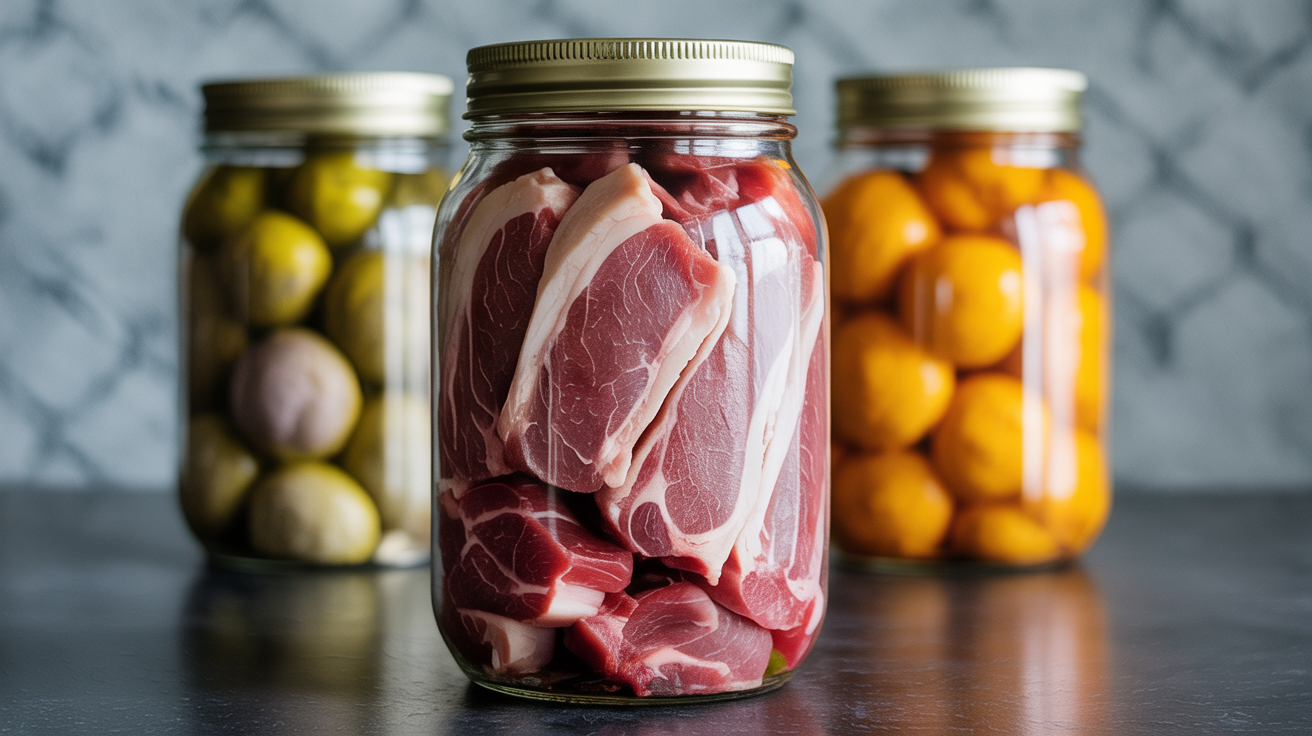
Canning meat at home is absolutely possible, but it requires the right equipment and a firm understanding of why the method matters. Meat and poultry are low-acid foods, which means a standard boiling-water canner cannot make them safe. Only a pressure canner reaches the temperatures needed to eliminate Clostridium botulinum spores in low-acid foods. Get that part right and home-canned meat becomes a genuinely useful pantry staple.
At a Glance
- Meat and poultry are low-acid foods (pH above 4.6), so they require a pressure canner, never a water-bath canner, with no exceptions.
- A pressure canner must hold the jar contents at 240°F or higher for the full processing time to destroy botulism spores; boiling water alone never gets that hot.
- Both raw pack (uncooked meat, no added liquid) and hot pack (partially cooked, covered in boiling liquid) are approved methods, with ground meat always requiring hot pack.
- Standard headspace for meat is 1 inch, and processing time depends on jar size, pack style, canner type, and your altitude, all four together, not any one alone.
- Use only tested recipes from the USDA Complete Guide to Home Canning or NCHFP; older guides (pre-2009) or improvised times are a real safety risk.
- A properly sealed jar, made from a tested recipe, is shelf-stable for about a year at room temperature, and boiling home-canned meat for 10 minutes before eating is a smart extra precaution.
Why Meat Must Be Pressure Canned
Botulism spores survive in boiling water. They only die when food is held at 240°F (116°C) or higher for a sustained period, a temperature achievable only inside a pressure canner operating at the correct pressure for your altitude.
Meat and poultry have a pH above 4.6, the cutoff that separates high-acid foods (safe for water-bath canning) from low-acid foods (pressure canning required). This is not a gray area. Water-bath canning low-acid foods is one of the most dangerous mistakes a home canner can make, because botulism toxin produces no obvious smell, color, or texture change in the finished jar.
For more on the pressure-canning process itself, the beginner's step-by-step guide to pressure canning is a good place to start before your first meat batch.
What Meats Can Be Home Canned?
The USDA and the National Center for Home Food Preservation (NCHFP) have tested recipes for a range of meats and poultry. Commonly canned options include:
| Meat | Notes |
|---|---|
| Chicken (boneless or bone-in) | One of the most popular choices |
| Ground beef | Must be pre-cooked and drained before packing |
| Beef strips or chunks | Can be packed raw or pre-browned |
| Pork | Works well in chunks; avoid highly fatty cuts |
| Turkey | Same approach as chicken |
| Wild game (venison, elk, bear) | Follow USDA tested times for similar domestic meats |
Cured meats, lunch meats, and processed products like sausage do not have widely tested home-canning recipes. Stick to plain fresh or frozen meat and consult only tested sources for your processing parameters.
Hot Pack vs. Raw Pack
Both methods are approved for most meats. The choice affects texture, jar yield, and a bit of hands-on time.
Raw Pack
Raw-pack (also called cold pack) means placing uncooked meat directly into clean, hot jars. The meat releases its own liquid during processing, filling in around the pieces. This method is quicker to prepare. The finished product tends to have a firmer texture.
No added liquid is required for raw-pack meat; the natural juices are enough. You may add up to one teaspoon of canning salt per quart for flavor, but salt is optional and not a safety factor.
Hot Pack
Hot-pack means partially cooking the meat before filling jars. You then pack the partially-cooked meat loosely and cover it with boiling broth, water, or the cooking liquid.
Hot-pack produces a denser fill, which can mean slightly more meat per jar. Some canners find the finished texture more tender. Ground meat must always be hot-packed because raw ground meat packs too densely for heat to penetrate reliably.
Jar Prep and Headspace
Use only Mason-style canning jars in good condition. Check rims for chips before every use. For most meats, pint and quart jars are the standard sizes; half-pints are not typically tested for meat.
Leave one inch of headspace in all meat jars. Headspace that is too large or too small affects the seal and can interfere with proper heat distribution during processing.
Run a thin spatula or bubble remover around the inside of the jar after filling to release air pockets. Wipe the rim clean with a damp cloth before applying the lid. Any fat or juice on the rim can prevent a proper seal.
Tested Processing Times: A Worked Example
Processing times are not a rough guideline, they are a specific number tied to jar size, pack style, canner type, and elevation. Here is what NCHFP's tested recipe for strips, cubes, or chunks of meat (beef, pork, lamb, veal, venison) specifies in a dial-gauge pressure canner:
| Jar Size | Elevation | Process Time | Canner Pressure |
|---|---|---|---|
| Pints | 0 to 2,000 ft | 75 minutes | 11 lb |
| Pints | 4,001 to 6,000 ft | 75 minutes | 13 lb |
| Quarts | 0 to 2,000 ft | 90 minutes | 11 lb |
| Quarts | 4,001 to 6,000 ft | 90 minutes | 13 lb |
Notice that the time stays fixed at a given jar size while the pressure climbs with elevation. That pattern holds across most dial-gauge meat recipes: altitude changes the pressure, not necessarily the minutes. Chicken and rabbit follows a related but distinct table: boneless poultry processes for 75 minutes (pints) or 90 minutes (quarts), while bone-in poultry drops to 65 minutes (pints) or 75 minutes (quarts) because bones conduct heat into the jar faster than solid muscle. That difference is exactly why you cannot borrow a processing time from one meat and apply it to another, even a closely related one.
Following Tested Recipes
This is where the most important safety rule applies: use only tested recipes from the USDA Complete Guide to Home Canning or the NCHFP, and follow them exactly. The processing time and pressure vary depending on:
- Jar size (pints require less time than quarts)
- Whether you used raw or hot pack
- The type of canner (dial-gauge or weighted-gauge)
- Your altitude (higher elevations require higher pressure to reach 240°F)
Do not shorten times, reduce pressure, or adjust a recipe based on personal experience or older sources. Pre-2009 canning guides may contain outdated and unsafe times. The NCHFP website (nchfp.uga.edu) and the Ball Blue Book (current edition) are reliable references.
Canning chicken at home at sea level in a dial-gauge canner, for example, calls for a specific pressure and time that differs from the same jar processed in a weighted-gauge canner at 3,000 feet. Your recipe and your altitude together determine the correct numbers. That combination is the one to use.
If you are also canning plain vegetables in the same session, the guide to pressure canning vegetables covers jar prep and the same altitude-adjustment principles.
Common Pitfalls Beginners Run Into
A few mistakes come up often enough with meat specifically that they deserve their own callout:
- Packing too tightly. Meat needs room for heat to penetrate to the center of the jar. Densely packed raw meat, especially in quart jars, can leave the coldest point of the jar under-processed even when the clock and gauge say the batch is done.
- Skipping the fat trim. Excess fat left on the meat can float to the top, coat the jar rim during processing, and prevent a clean seal. Trim visible fat before packing.
- Using the wrong table for bone-in vs. boneless. As the chicken example above shows, bone-in cuts process for a shorter time than boneless cuts of the same jar size. Using the boneless time for a bone-in jar under-processes it; using the bone-in time for boneless meat is safe but wastes time and can overcook the product.
- Guessing at altitude adjustment. A household 3,000 feet above sea level needs a different pressure than one at sea level, even with an identical recipe and jar size. Look up your actual elevation rather than estimating.
Is Home Canned Meat Safe?
When processed correctly in a pressure canner using a tested recipe, home-canned meat is safe and shelf-stable for at least one year at room temperature (some sources say up to two years, though quality declines over time). The key conditions are:
- A proper seal confirmed after cooling (the lid does not flex when pressed)
- No signs of spoilage before opening: bulging lids, spurting liquid, off odors, or visible mold
- Boiling home-canned meat for 10 minutes before eating (this is a recommended precaution regardless of how confident you are in the seal)
If a jar shows any sign of spoilage, do not taste it. Do not sniff it closely. Dispose of it safely according to your local health authority's guidelines, usually by sealing the jar in a heavy plastic bag and placing it in the trash.
"When in doubt, throw it out" is not overcaution in pressure canning. It is the right call every time.
Frequently Asked Questions
Can I use a water-bath canner for meat if I process it long enough?
No. No amount of water-bath time makes meat safe to can. Boiling water reaches 212°F at sea level, which is not hot enough to destroy botulism spores in low-acid foods like meat. A pressure canner is the only acceptable equipment for canning meat.
Do I need to add liquid when raw-packing meat?
Not for most meats. Chicken, beef, and pork release enough natural juice during processing to fill the jar. You can add a small amount of broth or water if you prefer, but it is not required. Always check the specific recipe you are using.
Can I reuse jar lids for canning meat?
Standard flat canning lids are designed for single use only. The sealing compound compresses during processing and may not seal reliably a second time. Reusable lids like Tattler are available and have their own instructions; follow those exactly if you use them.
How long does home-canned chicken last?
A properly sealed jar stored in a cool, dark, dry location is best used within one year for peak quality. The food does not suddenly become unsafe after that date, but flavor and texture decline. Inspect every jar before opening regardless of age.
Can I can meat with vegetables in the same jar?
There are tested recipes for mixed products like chicken and broth or beef stew. Use only those tested combinations. Do not mix meats and vegetables in your own proportions and assume the tested time for either one applies. The density and composition of the jar affect how heat penetrates, so untested combinations carry real risk.
Why does bone-in meat process for less time than boneless meat of the same jar size?
Bone conducts heat more efficiently than muscle tissue, so a bone-in jar reaches a safe internal temperature faster than an all-flesh jar of the same size. That is why the tested time for bone-in chicken is shorter than boneless chicken in the same jar size. It is a real, tested difference, not an approximation, so match your recipe to exactly what is in the jar.
Does the type of pressure canner (dial-gauge vs. weighted-gauge) change how long I process meat?
The processing time itself is usually the same between the two canner types for a given jar size and pack style; what changes is how you read and hold the pressure. A dial-gauge canner shows a numeric PSI reading that shifts with altitude in small increments, while a weighted-gauge canner uses fixed weights, commonly 5, 10, and 15 pounds, and you choose the weight that matches your elevation band. Check your specific recipe's tables for both canner types before you start.