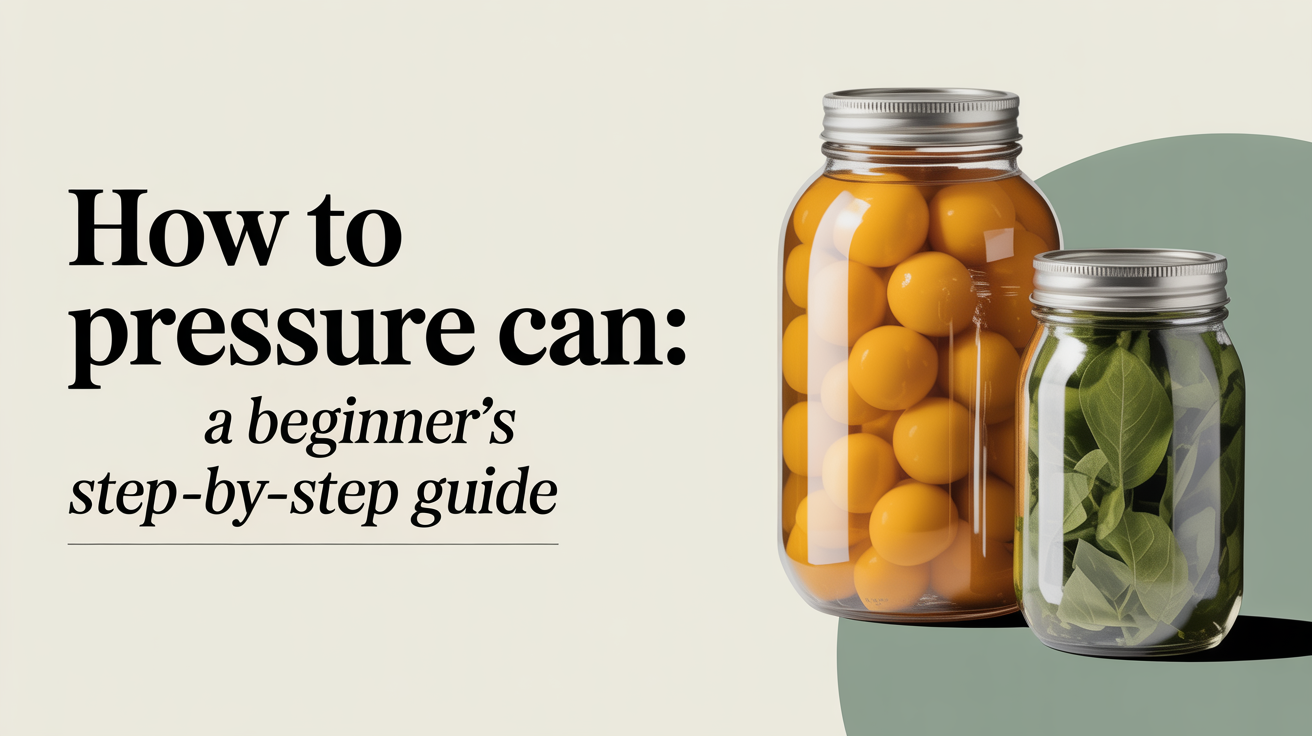
How to Pressure Can: A Beginner's Step-by-Step Guide
Learn how to pressure can safely with this beginner step-by-step guide. Covers venting, pressurizing, depressurization, and why tested recipes matter.
Pressure canning is the only safe way to preserve low-acid foods at home. Vegetables, beans, meats, and soups must reach 240°F (116°C) to destroy Clostridium botulinum spores, and that temperature is only achievable inside a pressurized canner. A boiling-water bath tops out at 212°F, which is not hot enough to make these foods safe for shelf storage. Once you understand the basic sequence and a few non-negotiable rules, the process is straightforward and repeatable.
Why Pressure Canning Is Different from Water-Bath Canning
Before getting into the steps, it helps to understand the stakes. Botulism is a rare but potentially fatal illness caused by a toxin produced by C. botulinum bacteria. The spores survive boiling, thrive in low-oxygen, low-acid environments, and are completely odorless. A jar that looks and smells fine can still contain the toxin.
High-acid foods like tomatoes, jams, and pickles can be safely water-bath canned because their acidity prevents bacterial growth. Low-acid foods cannot. No amount of extra boiling time makes them safe in a water-bath canner. If you have any doubt about whether a food is high- or low-acid, treat it as low-acid and use a pressure canner.
For a deeper look at this principle, see why you can't water-bath can low-acid foods.
A Note on Tested Recipes
This guide teaches you the method, but the specific pressure (in PSI) and processing time for each food must come from a currently tested recipe. Sources to trust: the USDA Complete Guide to Home Canning, the National Center for Home Food Preservation (NCHFP), and the Ball Blue Book. Do not guess, do not halve times to "save energy," and do not invent combinations. The tested recipe is part of the safety system, not a suggestion.
Equipment You Need Before You Start
You do not need much, but what you do need matters.
- Pressure canner (not a pressure cooker) with a properly functioning lid seal, vent pipe, and either a weighted gauge or a dial gauge. Weighted gauges are self-regulating. Dial gauges must be tested for accuracy each year at your local cooperative extension office.
- Canning jars in good condition, no chips or cracks, with new flat lids and clean screw bands.
- Jar lifter and a wide-mouth canning funnel.
- Rack to keep jars off the bottom of the canner (most canners include one).
If your canner has a dial gauge, have it tested before you rely on results that depend on it. An inaccurate dial gauge means you may think you are processing at 11 PSI when the canner is actually running at 8. That is not a small margin when botulism is the risk.
How to Pressure Can: Step by Step
Step 1: Prepare Your Food and Fill the Jars
Follow your tested recipe exactly for food preparation, pack style (raw pack vs. hot pack), and headspace. Headspace is the empty space between the food surface and the top of the jar. It matters because food expands during processing; too little headspace can prevent a proper seal.
Wipe jar rims with a clean damp cloth. Even a small bit of food residue on the rim can prevent a good seal. Set lids and screw bands on fingertip-tight, which means tightened until you feel resistance, then backed off just slightly. Over-tightening can prevent air from venting during processing.
Step 2: Add Water to the Canner and Load Jars
Check your canner's manual for the required amount of water. Most pressure canners call for 2 to 3 quarts of hot water in the bottom. Too little and the canner may run dry; too much is not usually dangerous, but follow the manufacturer's guidance.
Place the rack in the bottom of the canner and lower filled jars onto it using a jar lifter. Keep jars upright the whole time. Some canners hold two layers of quart jars with a divider rack; consult your manual if you want to double-stack.
Step 3: Lock the Lid and Vent Steam
This step catches beginners off guard. You do not pressurize the canner right away. Lock the lid according to the canner's design, leave the vent pipe open or the weight off, and turn the heat to medium-high.
Let steam flow freely from the vent for a full 10 minutes. This exhaust phase purges air from the canner. Air trapped inside lowers the actual temperature at a given pressure reading, which means your food is not getting as hot as you think. Ten minutes of steady, uninterrupted venting is not optional.
Step 4: Bring to Pressure
After venting, place the counterweight over the vent pipe (for weighted-gauge canners) or close the petcock (on older models). The canner will begin to pressurize. For dial-gauge canners, watch the dial and adjust your burner to hold the pressure your recipe specifies. For weighted-gauge canners, the weight will begin to jiggle or rock steadily once you are at pressure.
Start your processing timer only when the canner has reached the correct pressure. A premature start means under-processed food.
Step 5: Maintain Steady Pressure for the Full Processing Time
Fluctuating pressure is a problem. If pressure drops and then spikes back up, you need to bring it back to the correct level and restart your timer from zero. On most home ranges, medium to medium-low heat keeps a weighted-gauge canner rocking steadily without wild swings.
Pressure also needs adjustment for altitude. At higher elevations, water boils at a lower temperature, which means the canner must run at a higher PSI to reach the same internal food temperature. Your tested recipe will include an altitude adjustment table. Look up your elevation and follow it.
If you are new to canning green beans or other common low-acid vegetables, this guide on how to pressure can vegetables walks through specific prep and pack details.
Step 6: Turn Off Heat and Let Pressure Drop Naturally
When processing time is complete, turn off the heat. Do not open the canner. Do not run it under cold water. Do not tilt it to speed things up. Let it sit undisturbed until the pressure gauge reads zero, or the overpressure plug drops, or the weighted gauge can be nudged without any steam releasing.
Natural depressurization takes anywhere from 30 to 45 minutes depending on canner size and the food inside. Rushing it causes siphoning, where liquid boils out of the jars as pressure suddenly equalizes, leaving you with poorly filled jars and possibly compromised seals.
Step 7: Open the Canner and Remove Jars
Once pressure is at zero, wait an additional 10 minutes before opening the lid. When you do open it, tilt the lid away from your face so any remaining steam escapes away from you. The inside of that canner is still very hot.
Use a jar lifter to move jars to a towel-covered counter. Set them at least an inch apart so air circulates freely. Do not tip, press the lids, or check for seals while the jars are hot. You will hear the satisfying metallic ping of lids sealing as the jars cool.
Step 8: Cool 12 to 24 Hours and Check Seals
Leave jars undisturbed at room temperature for 12 to 24 hours. After that, remove the screw bands and check each seal by pressing the center of the lid. A sealed lid is flat and does not flex. You can also lift the jar by the edges of the lid alone; a proper seal will hold.
Any jar that did not seal should be refrigerated and used within a few days, or reprocessed using a new lid within 24 hours of the original processing. Wipe sealed jars, label them with the contents and date, and store in a cool, dark location. Best quality is within one to two years, though properly sealed jars remain safe longer.
Pressure Canning Dried Beans and Legumes
Dried beans are one of the best candidates for pressure canning because home-canned beans are economical, convenient, and free of the added sodium in commercial cans. The process follows the same steps above, with specific headspace and processing times from a tested source like the NCHFP.
One key detail: beans must be rehydrated before canning. You can hot-soak them (boil briefly, then soak an hour) or cold-soak overnight. Canning dry beans directly is not a tested method and is not safe because the beans absorb liquid during processing in ways that have not been tested for heat penetration.
For the full details on preparing and processing different legumes, see how to pressure can beans and legumes.
Common Mistakes to Avoid
Even careful beginners make the same errors. Knowing them in advance saves a batch.
- Skipping the vent step. Ten minutes of steam exhaust is required, not a rough estimate.
- Starting the timer too early. The clock starts only once the canner is at full pressure.
- Forcing depressurization. Cold water, tilting, or removing the weight while pressure remains inside can cause serious burns and unsafe food.
- Using untested recipes or modifying tested ones. Doubling a recipe or changing the density of the pack alters heat penetration in ways you cannot predict without laboratory testing.
- Ignoring altitude. If you live above 1,000 feet, you need to adjust pressure. Check the altitude table in your tested recipe.
- Skipping the annual gauge test. A dial gauge that reads 1 to 2 PSI high means you may be under-processing every batch. Test it every spring.
FAQ
Can I use a pressure cooker instead of a pressure canner?
Most pressure cookers are too small to safely process jars, and their pressure regulation may not be adequate or consistent. The USDA and NCHFP do not recommend standard pressure cookers for home canning. Use a canner specifically designed for the purpose.
How do I know if my canned food is safe to eat?
Before opening any jar, inspect it. Look for bulging or unsealed lids, spurting liquid, unusual odors, or foam inside when opened. If anything seems off, do not taste it. Throw it away without tasting, and handle it carefully to avoid exposing others. A jar that passes visual inspection is not guaranteed safe, which is why following tested recipes and proper processing is the foundation, not a secondary check.
My lid sealed but I'm not sure I vented long enough. Is it safe?
If you are uncertain whether you completed the 10-minute vent step, the conservative answer is to discard the jar. The seal indicates only that a vacuum formed, not that the food was heated properly. Processing integrity is the safety guarantee, not the seal itself.
What should I do if pressure drops during processing?
Bring the canner back to the required pressure as quickly as possible, and then restart your processing time from zero. Do not add the remaining time to wherever you were in the timer. The full processing time must occur at the correct pressure.
Do I need to sterilize jars before pressure canning?
No. The processing time inside the canner is long and hot enough that pre-sterilization is not necessary for pressure canning. Jars should be clean and hot (to prevent thermal shock), but not pre-sterilized. Run them through the dishwasher or keep them in hot water until filling.