How to Pressure Can Vegetables
Learn how to pressure can vegetables safely at home. Covers which vegetables to can, hot vs raw pack, the step-by-step process, and why tested recipes matter.
Pressure canning vegetables is one of the most practical skills in a home food-preservation pantry. A shelf full of green beans, carrots, or corn, grown in your garden or bought at the farmers market, can last a year or more and taste far better than anything from the grocery store. The catch is that plain vegetables are low-acid foods, which means they require a pressure canner and a tested recipe. Get those two things right and the rest of the process is very learnable, even for a complete beginner.
Why Vegetables Must Be Pressure Canned
Plain vegetables have a pH above 4.6, which puts them in the low-acid category. Botulism spores survive boiling temperatures and will germinate in a sealed, anaerobic jar if the food is not processed at the correct temperature. A pressure canner reaches 240°F (116°C) at the proper pressure, hot enough to destroy those spores. A boiling-water bath only reaches 212°F and cannot do this job.
This is not a technicality you can skip. For a deeper look at the science, see why you can't water-bath can low-acid foods. The short answer: water-bath canning plain vegetables is unsafe regardless of how long you process them.
Every vegetable has its own tested processing time and pressure. Those numbers come from laboratory testing conducted by researchers at the USDA and the National Center for Home Food Preservation (NCHFP). Always look up the current guidelines for whichever vegetable you are canning before you start.
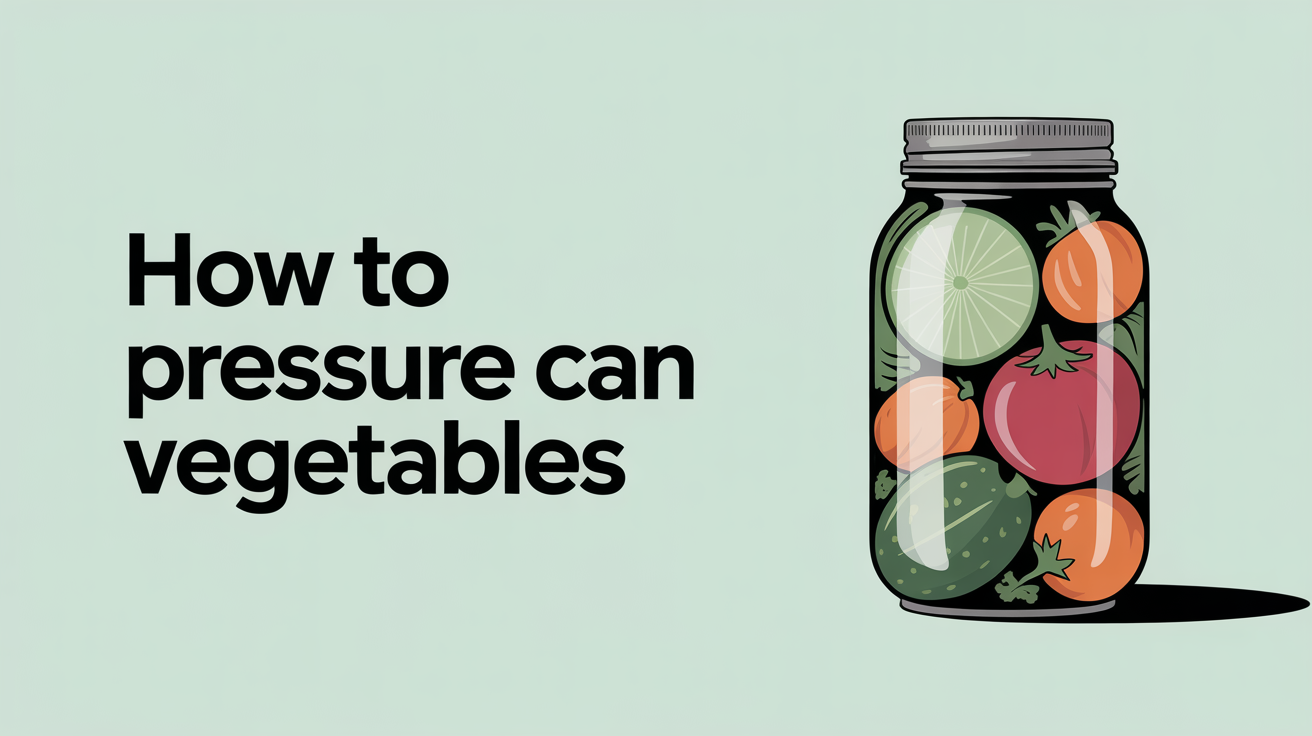
Which Vegetables Are Commonly Pressure Canned
Most garden and market vegetables have a safe, tested process. Here are the ones home canners reach for most often:
- Green beans, among the most popular vegetables to pressure can; can be done raw pack or hot pack
- Carrots, hold up beautifully and taste sweet straight from the jar
- Corn, whole kernel or cream-style each have their own tested times (they differ, so check both)
- Potatoes, cubed or small whole potatoes work well; do not mash them before canning
- Beets, technically slightly higher in acid than most vegetables but still require pressure canning
- Peas, shelled garden peas are a classic; snow peas and snap peas do not have a tested process
- Carrots, turnips, and other root vegetables, good candidates if you follow a tested recipe for each
Vegetables Without a Safe Tested Process
A few vegetables that might seem like obvious candidates do not have a tested home-canning process that is considered safe. The most important ones to know:
- Summer squash and zucchini, no safe tested process exists for plain canned summer squash; the density and variable moisture content make reliable heat penetration impossible to guarantee
- Mashed or pureed pumpkin, the thick, dense texture prevents adequate heat penetration; you can pressure can pumpkin in cubes using a tested recipe, but never as a puree or mash
- Broccoli, cauliflower, and cabbage, no tested process; they also develop off flavors in the jar
- Eggplant, no tested home canning process
When in doubt, check the NCHFP website or the USDA Complete Guide to Home Canning. If there is no tested recipe for a vegetable or preparation method, freeze it instead.
Hot Pack vs Raw Pack
Most vegetables can be canned two ways, and the tested recipe will specify which options are available.
Hot Pack
You cook the vegetable briefly in boiling water before packing it into jars. Hot packing softens the food so you can fit more into each jar, removes trapped air, and often results in better color and texture after a year on the shelf. The liquid from the blanching water is usually poured over the vegetable in the jar.
Raw Pack
You pack the raw vegetable tightly into jars and cover it with boiling water or broth. Raw pack is faster. The trade-off is that raw-packed jars often float a little in the canner and may have more liquid displacement, leaving less vegetable per jar by the time you open them.
Neither method is universally better. Green beans, for example, come out well with either. For beginners, hot pack tends to give more predictable results because the food is already partially softened and sits more evenly in the jar. Follow whichever pack style your tested recipe recommends, the processing time may differ between the two.
Step-by-Step: How to Pressure Can Vegetables
This is an overview of the general process. Before you begin, read a tested recipe from the USDA, NCHFP, or the Ball Blue Book for your specific vegetable. Their instructions take priority over any general guide, including this one.
You will need a dial-gauge or weighted-gauge pressure canner, canning jars in good condition, new lids, and bands.
Getting Ready
- Inspect your equipment. Check the canner gasket for cracks and make sure the vent pipe is clear. If you have a dial-gauge canner, have it tested for accuracy at your local cooperative extension office once a year.
- Wash your jars in hot soapy water or the dishwasher. Keep them warm until you are ready to fill them, a cold jar can crack when it meets hot food.
- Prepare your vegetables. Wash them well, peel or trim as needed, and cut to the size specified in your recipe. Sort out any damaged pieces.
Filling the Jars
- Hot pack (if using): Boil the prepared vegetables in water for the time the recipe specifies, usually two to five minutes for most vegetables. Use a slotted spoon to pack them into hot jars.
- Raw pack (if using): Pack the raw vegetables firmly but without crushing them.
- Add boiling water or broth to cover, leaving the headspace the recipe calls for. For most plain vegetables, that is one inch from the top of the jar, but your tested recipe is the authority.
- Add salt if desired. Salt is for flavor only in pressure canning; it does not preserve the food or affect safety. Use canning salt if you use any.
- Remove air bubbles. Run a thin, non-metallic tool, a wooden chopstick or a plastic bubble remover, around the inside edge of the jar. Top up with liquid if the headspace drops below what the recipe requires.
- Wipe the rims with a clean, damp cloth. Any residue can prevent a proper seal.
- Place new lids on the jars and screw on the bands fingertip-tight, firm but not cranked down with force.
Loading and Processing
- Add hot water to the canner per the manufacturer's instructions, typically two to three inches for most models.
- Lower the jars into the canner using a jar lifter. Do not tilt the jars.
- Lock the lid. Leave the vent pipe open (or the weight off) and bring the canner to a boil over medium-high heat.
- Vent steam for 10 minutes. A steady column of steam should flow from the vent. This purges air from the canner; skipping this step affects pressure accuracy.
- Pressurize the canner. Place the weight on the vent (weighted gauge) or close the petcock (dial gauge). Bring the canner up to the pressure specified in your recipe for your altitude. This is where altitude adjustments matter: if you live above 1,000 feet, the pressure or processing time must be increased. Your recipe will have an altitude adjustment table.
- Start your timer when the correct pressure is reached. Maintain that pressure steadily for the entire processing time. Fluctuating pressure is a safety concern, adjust your burner gradually and keep an eye on the gauge.
- Turn off the heat when the time is up. Do not move the canner.
Cooling and Checking Seals
- Let the pressure drop to zero naturally. This takes 30 to 45 minutes for most canners. Do not run the canner under cold water or try to rush depressurization, both can cause jars to lose liquid or fail to seal.
- Wait an additional 10 minutes after pressure reaches zero before opening the lid. Tilt the lid away from you to let steam escape.
- Remove the jars without tilting them and place them on a towel, leaving space between jars for air circulation. Do not press the lids.
- Let the jars cool for 12 to 24 hours. You will often hear the satisfying "ping" of lids sealing as they cool.
- Check every seal. Press the center of each lid, it should be firm and concave. Remove the band and try to lift the lid with your fingertips. Any lid that flexes or lifts off has not sealed. Refrigerate unsealed jars and use them within a few days, or reprocess with a new lid within 24 hours if the vegetable is otherwise in good condition.
- Label and store. Write the contents and date on each jar. Store in a cool, dark place away from direct sunlight. Most home-canned vegetables are best used within 12 to 18 months for peak quality, though they remain safe longer if properly sealed.
For more detail on the full pressure canning setup, see how to pressure can: a beginner's step-by-step guide. For legumes specifically, how to pressure can beans and legumes covers the timing and process for dried and fresh beans.
Common Mistakes to Avoid
Knowing what can go wrong helps you avoid it.
Using the Wrong Time or Pressure
Each vegetable has its own tested processing time and required pressure. The time for green beans is not the same as the time for corn, and the time for quart jars is different from the time for pints. Always look up the specific values for your vegetable, your jar size, and your altitude. Do not borrow numbers from a recipe for a different vegetable or from an untested source.
Skipping the Vent Step
Ten minutes of steady venting before pressurizing is not optional. Air pockets in the canner affect heat distribution and can cause jars to fail to reach a safe internal temperature even when the gauge reads the correct pressure.
Opening the Canner Too Soon
Rushing depressurization causes liquid loss (called siphoning), which can interfere with sealing and expose the top of the vegetable. Patience here protects your work.
Using Old Lids or Reused Bands as Lids
New lids are inexpensive and non-negotiable. The sealing compound on a used lid may not form a reliable seal. Bands can be reused if they are not rusty or dented, but lids are single-use.
FAQ
Can I water-bath can green beans if I add vinegar?
Adding vinegar to green beans to acidify them for water-bath canning is not a tested, approved practice for plain canned green beans. Pickled green beans (dilly beans) have tested recipes that use enough vinegar to make water-bath canning safe, but those are a different product with a different flavor. Plain green beans must be pressure canned.
Do I have to add salt when pressure canning vegetables?
No. Salt is entirely optional in pressure canning vegetables. It does not affect safety, seal quality, or processing time. It only adds flavor. If you are watching sodium intake, feel free to leave it out completely.
How do I know what pressure to use?
Your tested recipe will specify the required pressure, and it will include an altitude adjustment table. Weighted-gauge canners typically have a 10 lb and 15 lb setting; dial-gauge canners let you dial in the exact number. If you are not sure of your altitude, your county extension office can help, or search for your city's elevation online.
Can I can mixed vegetables together?
Mixed-vegetable recipes do exist, but you cannot simply combine whatever you have on hand. The processing time must be long enough for the vegetable with the longest required time in the mix. Using a tested mixed-vegetable recipe from the NCHFP or Ball is the only safe approach. Do not invent your own combinations.
How long do home-canned vegetables last?
Properly sealed, pressure-canned vegetables are safe indefinitely as long as the seal remains intact and the jar shows no signs of spoilage. For best flavor and nutritional quality, plan to use them within one to two years. Always inspect the jar before opening: discard any jar with a bulging lid, spurting liquid, unusual odor, or any sign that the seal has failed. When in doubt, throw it out, never taste-test a jar you are unsure about.