How to Pressure Can Beans and Legumes
Learn how to can dried beans at home safely. This beginner's guide covers soaking, pre-cooking, packing, and pressure canning beans the right way.
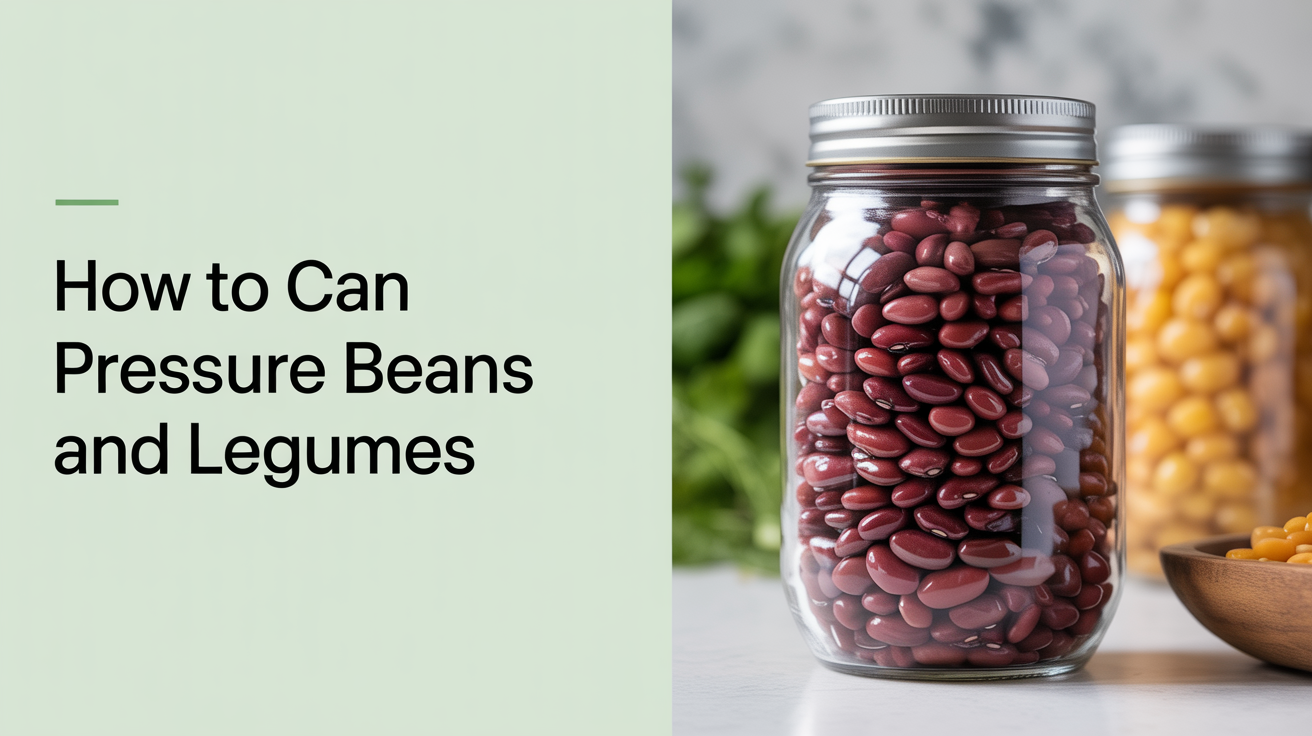
Dried beans are one of the most satisfying things to put up at home. They're cheap to buy in bulk, they keep for years once canned, and a jar of your own home-canned black beans or chickpeas beats the store-bought version in taste and texture. The catch is that beans are a low-acid food, which means they require a pressure canner, not a water-bath canner, every single time without exception.
Once you understand the basic process, pressure canning beans is straightforward. It takes a bit of planning the night before, but the hands-on work is manageable for a beginner. Here's what you need to know before you start.
Why Beans Must Be Pressure Canned
Beans and all other legumes are low-acid foods. Water-bath canning cannot reach the internal temperature needed to destroy Clostridium botulinum spores, which can survive in low-acid, low-oxygen environments like a sealed jar. A pressure canner, by contrast, drives the internal temperature well above boiling point and holds it there long enough to make the food safe for shelf storage.
There is no workaround for this. Adding lemon juice or vinegar will not acidify a jar of beans enough to make water-bath canning safe. If you have seen recipes online that suggest otherwise, please disregard them. The USDA Complete Guide to Home Canning, the National Center for Home Food Preservation (NCHFP), and Ball's Complete Book of Home Preserving are the authoritative references for tested processing times and pressures, and all of them are consistent on this point.
For a deeper look at the science behind low-acid foods, see the guide to why you can't water-bath can low-acid foods.
What You'll Need
Before you start, gather everything so you're not hunting around mid-process.
- Pressure canner with a rack (dial-gauge or weighted-gauge)
- Canning jars (quarts or pints, no cracks or chips)
- New lids and clean bands
- Jar lifter, lid wand or tongs, canning funnel
- Large pot for pre-cooking beans
- Ladle and bubble remover or thin plastic spatula
- Dried beans of your choice, black beans, kidney beans, navy beans, pinto beans, chickpeas, and lentils all work
Check your canner's seal and gasket before you begin, and if you have a dial-gauge canner, get it tested for accuracy at your local extension office at least once a year. An inaccurate gauge means inaccurate pressure, and that matters for safety.
Preparing Your Beans: Soaking and Pre-Cooking
Dried beans cannot go into the jar raw and dry. They expand dramatically as they cook, and if you pack a jar of dry beans and add water, you may end up with beans that are too dense, inconsistently cooked, and potentially under-processed in the center. Tested recipes require that beans be soaked and then partially cooked before canning.
Overnight Soak Method
Sort through your beans and rinse them. Cover them with at least three inches of cold water and leave them to soak overnight, roughly 12 hours. Drain and rinse in the morning, then cover with fresh water and bring to a boil. Let them boil for about 30 minutes. They'll still be undercooked at this point, which is exactly what you want: they'll finish cooking inside the pressure canner.
Quick-Soak Method
If you forgot to soak overnight, place your sorted, rinsed beans in a large pot and cover with cold water. Bring to a boil and let them boil hard for two minutes. Remove from heat, cover, and let them sit for one to two hours. Drain, rinse, cover with fresh water, then bring to a boil again and cook for 30 minutes.
Either method works. The goal is the same: partially cooked beans that are hot and ready to pack.
Packing the Jars
Hot-packing beans, meaning you fill the jars with hot beans and boiling water rather than raw ingredients, is what tested recipes specify. Do not skip this step or substitute cold or room-temperature beans.
Step-by-Step Jar Packing
- Wash jars in hot, soapy water and rinse well. Keep them hot until you're ready to fill them. You can do this by leaving them in hot water or in a low oven, but do not boil the lids, simmer them gently if needed.
- Place a canning funnel on the first jar. Using a slotted spoon or ladle, fill the jar loosely with hot, drained beans. Do not pack them tightly, loose filling is important because beans continue to expand. Fill to about halfway.
- Pour fresh boiling water over the beans, leaving the headspace specified in your tested recipe (commonly one inch for beans, but confirm this in your chosen reference).
- Add salt if desired, typically half a teaspoon for pints and one teaspoon for quarts. Salt is optional and adds flavor only; it does not affect safety or preservation.
- Run a bubble remover or thin spatula around the inside edge of the jar to release any trapped air pockets. Check the headspace again and add boiling water if needed.
- Wipe the jar rim with a clean, damp cloth or paper towel. Any residue on the rim can interfere with the seal.
- Place a new lid on the jar, then add the band and tighten it fingertip-tight, snug but not cranked down hard. Over-tightening prevents proper venting during processing.
- Set the filled jar aside and move to the next one. Work quickly to keep everything hot.
Pressure Canning the Beans
If you're new to using a pressure canner, the guide on how to pressure can, a beginner's step-by-step guide walks through canner operation in full detail. The steps below are specific to beans.
Processing Your Jars
- Pour two to three inches of hot water into the bottom of your pressure canner, following your canner's manual for the exact amount.
- Place the rack in the canner, then load your filled jars using a jar lifter. Do not let them touch each other.
- Lock the lid according to your canner's instructions and leave the vent pipe open. Heat the canner on medium-high heat until steam flows steadily from the vent, let it exhaust for 10 minutes before closing the vent or adding the weight.
- Bring the canner up to the pressure specified in your tested recipe. The required PSI depends on your altitude and the style of your canner (dial-gauge vs. weighted-gauge). Always consult a current tested recipe from the USDA, NCHFP, or Ball for the exact pressure and time for your altitude. Do not guess or rely on memory.
- Once the correct pressure is reached, start your timer. Maintain steady pressure for the full processing time, not a minute less. If pressure drops below the required level, bring it back up and restart the timer from zero.
- When the processing time is up, turn off the heat. Leave the canner completely undisturbed and let the pressure return to zero on its own. This takes 30 to 45 minutes or longer, do not rush it by running the canner under cold water or removing the weight early.
- Once the pressure gauge reads zero (or the weight stops rocking), wait an additional 10 minutes before opening the lid. Tilt the lid away from you as you open it so steam escapes away from your face.
- Use a jar lifter to move the jars to a towel-covered surface. Leave at least one inch of space between jars. Do not tilt, press, or adjust the lids at this stage.
- Let the jars cool undisturbed for 12 to 24 hours.
Checking Seals, Storing, and Using Your Beans
After the jars have cooled fully, check each lid. A properly sealed lid will be concave, curved slightly downward, and will not flex when you press the center. If a lid springs back or the jar didn't seal, either refrigerate and use within a few days or reprocess within 24 hours using a new lid (though reprocessed beans may be softer in texture).
Label each jar with the contents and the date. Store sealed jars in a cool, dark, dry location. The USDA generally recommends using home-canned foods within 12 to 18 months for best quality, though properly sealed jars remain safe beyond that if the seal is intact and the contents look and smell normal.
When you open a jar, look and smell before you use it. Discard any jar with a bulging lid, spurting liquid, unusual odor, or any sign of spoilage, and never taste food from a jar you suspect may be compromised. When in doubt, throw it out.
For other ideas on putting up vegetables safely, the article on how to pressure can vegetables covers common crops with similar principles.
A Note on Bean Variations
Plain beans canned in water (or a light brine) are covered by tested recipes. Baked beans, beans in tomato sauce, beans with meat, and other mixed preparations are a different category, each combination changes the density and acidity of the final product, which in turn changes the required processing time. Use a specific tested recipe for any bean-based mixture, not a plain-bean recipe with additions.
Lentils and split peas can also be pressure canned, and some tested sources include recipes for them. Check the NCHFP or Ball for guidance specific to those legumes, since their texture and processing requirements differ from whole dried beans.
FAQ
Can I can beans straight from the bag without soaking or cooking them first?
No. Raw, dry beans must not go directly into jars for pressure canning. They will absorb water and expand inside the sealed jar in ways that can affect both texture and safe processing. Always soak and partially cook your beans before packing them.
How full should I fill the jars?
Fill jars loosely, beans expand during processing. The correct headspace for your jars (commonly one inch) will be specified in your tested recipe. Overfilling jars can interfere with the seal and affect the final texture of the beans.
Can I use a water-bath canner for beans if I process them for a really long time?
No. A water-bath canner cannot reach the temperature required to destroy botulism spores in low-acid foods, regardless of how long you process them. Longer processing time in a water-bath canner does not make beans safe. Only a pressure canner can do this job.
My beans turned out mushy. What went wrong?
A few things can cause soft or mushy beans: overcooking during the pre-cook stage (30 minutes is usually enough before canning), over-processing in the canner, or beans that were very old to begin with. Old dried beans take longer to hydrate and may break down during processing. For best results, use beans purchased within the last year.
Do I need to add salt?
Salt is optional. It adds flavor but plays no role in preservation or safety. Many canners skip it entirely, especially if they're watching sodium intake, or prefer to add salt when cooking with the beans later.