Canning Equipment for Beginners: What You Actually Need
A practical canning supplies list for beginners: the essential tools, what you can improvise, and when a pressure canner is non-negotiable.
You can fill a pantry shelf with home-canned jam, pickles, and tomatoes using a surprisingly short list of tools. Most beginners already own several of them. The core kit is modest, and once you have it, it works for years.
This guide covers everything you need to get started with water-bath canning, explains why a pressure canner is a completely separate piece of equipment (not optional if you want to safely preserve low-acid foods), and sorts the nice-to-haves from the genuine must-haves.
The Essential Canning Supplies List
These are the items you need before you process your first jar. Skipping any of them creates either a safety gap or a mess you will not enjoy.
A Large Pot with a Rack
For water-bath canning, you need a pot deep enough to submerge your jars under at least one inch of actively boiling water, and tall enough for the boil not to spill over. A purpose-made water-bath canner is a wide, lightweight speckled-enamel pot with a wire rack that holds jars off the bottom. They run roughly $25–$40 and are the most convenient option.
You can also use any large stockpot you already own, provided it is deep enough. The rack is the part you cannot skip: jars sitting directly on the pot floor can crack from concentrated heat, and the rack lets water circulate underneath for even processing. A folded kitchen towel placed on the bottom works in a pinch, but a proper canning rack or even a round cake-cooling rack is more reliable.
Pot diameter matters too. A standard canner fits seven wide-mouth quart jars at once, which is an efficient batch size. A narrower stockpot may only fit four, which is still fine. It just means more batches.
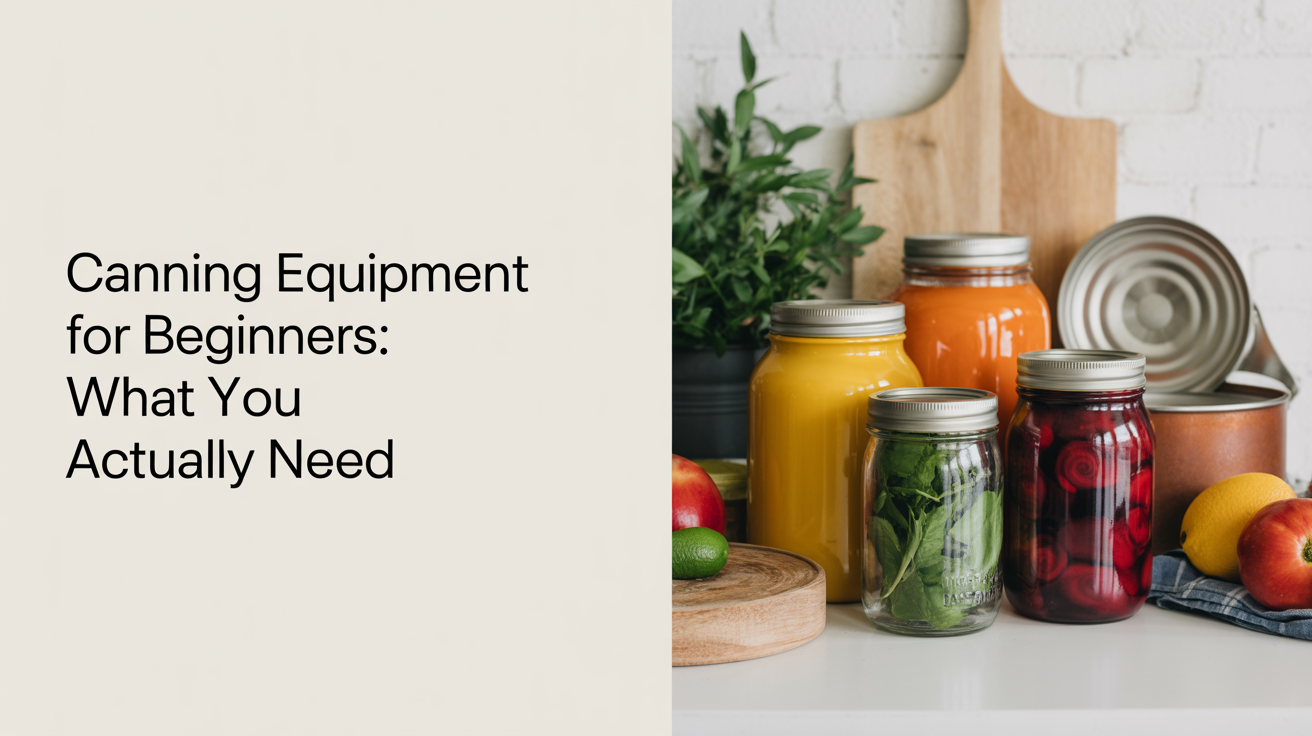
Mason Jars (Glass Canning Jars)
Only use jars specifically made for home canning. Mason-style jars (the wide-mouth and regular-mouth glass jars you find at hardware stores and online) are designed to handle repeated thermal stress. Grocery store spaghetti sauce jars and other recycled commercial glass are not, and they may fail under processing heat.
Jars come in several sizes. A half-pint is the classic jam jar. A pint handles pickles, salsa, and sauces neatly. A quart is right for whole tomatoes, apple slices, or soups. See the full breakdown in mason jar sizes explained if you want guidance on matching jar size to recipe.
Inspect jars before every use. Run a finger around the rim and look for chips or cracks. A nicked rim means the lid cannot seal, so that jar goes in the recycling bin, not the canner.
Two-Piece Canning Lids (Flat Lid + Band)
The lid system is two separate pieces: a flat metal disc with a sealing compound on the underside, and a threaded metal band that holds it in place during processing.
The flat lid must be new every time. The sealing compound compresses once against the jar rim during processing, and that's its one reliable performance. Reusing lids risks seal failures that you might not notice until the jar sits on your shelf for a month. New lids cost about 30–60 cents each, which is cheap insurance.
Bands, on the other hand, are reusable as long as they're not rusted, bent, or corroded. Store them loosely after processing. Do not leave them screwed onto sealed jars long-term, because trapped moisture can cause rust.
For a deeper look at why lid replacement matters, visit canning lids and bands.
A Jar Lifter
A jar lifter is a wide-grip tong designed to grab the neck of a hot jar. A standard pair of kitchen tongs can grip the neck awkwardly and drop jars, and fishing a quart of boiling-hot liquid out of a pot by hand is genuinely dangerous. Jar lifters cost $8–$12 and prevent burns.
A Canning Funnel
A wide-mouth funnel fits into the jar opening and lets you ladle hot jam or pickle brine without dripping it all over the rim. Anything on the rim can prevent a proper seal. You can skip the funnel and use a ladle carefully, but the funnel makes the process faster and cleaner, and at roughly $5, it earns its place.
A Bubble Remover and Headspace Tool
After filling a jar, you need to run a thin, flat tool around the inside edge to release trapped air bubbles, then check that the headspace (the gap between the food and the lid) matches the recipe's specification. Many canners sell a combination plastic tool that does both jobs. A thin silicone spatula or a chopstick removes bubbles just as well, though measuring headspace by eye is less precise.
Headspace matters because food expands during processing, and too little or too much space affects sealing and processing time. Always follow the headspace your recipe specifies.
Clean Towels
Keep a stack nearby. You'll wipe jar rims before putting on lids, dry jar surfaces when they come out of the canner, and handle a lot of steam. Paper towels work, but cloth towels are more efficient for a batch of a dozen jars.
What You Can Improvise vs. What You Really Shouldn't
Not every tool on the market is necessary, and a few items genuinely cannot be substituted safely.
Safe to improvise:
- The rack (a folded towel in a deep pot works temporarily)
- The bubble remover (a chopstick or thin spatula is fine)
- The funnel (a ladle and patience is workable)
- Headspace measurement (a ruler gets you there)
Do not skip or substitute:
- Proper canning jars (commercial food jars are not rated for home processing heat)
- New flat lids, every batch, no exceptions
- A jar lifter (this is a burn-prevention item, not a convenience)
- Adequate pot depth (if jars aren't submerged, you haven't actually water-bath canned them)
The Starter Kit at a Glance
Here's the full beginner canning supplies list with approximate price ranges. These are general tiers; prices vary by retailer and region.
| Item | Budget option | Mid-range | Notes |
|---|---|---|---|
| Water-bath canner with rack | $20–$30 | $35–$50 | A deep stockpot works if it's tall enough |
| Mason jars (12-pack) | $10–$14 | $15–$20 | Buy new; inspect old ones carefully |
| Flat lids (12-pack) | $4–$7 | $7–$10 | Always new per batch |
| Bands (12-pack) | $5–$8 | $8–$12 | Reusable if undamaged |
| Jar lifter | $7–$10 | $10–$15 | Not optional |
| Canning funnel | $4–$7 | $7–$12 | Wide-mouth fits all jar sizes |
| Bubble remover/headspace tool | $3–$6 | $6–$10 | A chopstick also works |
| Clean towels | Already own | Already own | n/a |
A complete basic kit lands anywhere from $55 to $100 depending on the options you choose and whether you already own jars or a suitable pot.
Do You Need a Pressure Canner?
This depends entirely on what you plan to preserve, and the answer matters a great deal for food safety.
Water-bath canning is for high-acid foods only. Jams, jellies, fruit preserves, pickles (properly acidified), and tomatoes with added acid are the foods where a water-bath canner is the right tool. The high acid environment prevents the growth of Clostridium botulinum, the bacterium responsible for botulism.
Low-acid foods require a pressure canner. Vegetables (green beans, corn, beets, carrots), meats, poultry, seafood, and mixed dishes cannot be safely processed in a water-bath canner at any boiling time. The only way to reach the temperature needed to destroy botulism spores in low-acid food is in a pressure canner, which reaches 240°F (116°C) at 10 PSI. A boiling-water bath maxes out at 212°F (100°C), which is not sufficient.
A pressure canner is not the same as a pressure cooker. This distinction trips up a lot of beginners, and it's addressed in detail at do you need a pressure canner. The short version: pressure cookers are not designed or tested for canning, and their gauges and vents are different. Only use a pressure canner that meets USDA and NCHFP standards for home canning.
If you plan to can only jams, jellies, and pickles, start with the water-bath kit and add a pressure canner later. If you want to can vegetables or meats, budget for a pressure canner before you begin. It is not optional.
Pressure canners are a larger investment, typically $80–$250 depending on size and style, but they last decades. Always follow the manufacturer's instructions and have the gauge tested annually by your local cooperative extension office if your model has a dial gauge (weighted-gauge models don't require this).
Keeping It Safe
Equipment is only part of the picture. Here are the safety habits that matter most from your very first batch:
- Follow tested, current recipes from the USDA Complete Guide to Home Canning, the National Center for Home Food Preservation (NCHFP), or Ball's current published guides. Processing times, headspace, and acidity ratios are not things to adjust or guess.
- Never skip the processing step. "Hot packing" into jars and letting them seal on the counter as they cool is not safe canning.
- Check every seal within 12–24 hours of processing. Press the center of the lid; it should be firm and concave, not flexible. Any jar that didn't seal goes into the refrigerator and gets used within a few days.
- If a jar looks, smells, or sounds wrong when you open it (cloudy liquid, spurting, off odor), do not taste it. Discard it safely (seal it in a bag before putting it in the trash, or dispose as directed by your local authority if you suspect botulism contamination).
- Label every jar with the contents and the processing date.
FAQ
Can I reuse lids from store-bought jars for canning?
No. Commercial lids from pasta sauce, pickle, or jam jars are designed for a single factory-applied seal, not for the heat of home processing. The sealing compound on used commercial lids won't form a reliable bond. Only use new, home-canning lids.
Do I need to sterilize jars before canning?
For any recipe with a processing time of 10 minutes or more in a water-bath canner, the NCHFP states that the processing step itself sterilizes the jar contents, so you just need clean, hot jars. For very short-processed recipes (under 10 minutes), pre-sterilization is required. Check your specific recipe for guidance.
My jar didn't seal. Is the food safe?
If you catch it within 24 hours, you have options: refrigerate and use within a few days, or reprocess with a new lid (following tested guidelines on reprocessing, as quality may suffer). If you don't know how long the jar has been unsealed, refrigerate and use soon, or discard if you have any doubt.
Can I use a pressure cooker instead of a pressure canner?
No. Standard pressure cookers lack the venting patterns, tested processing capacity, and calibrated gauges of purpose-built pressure canners. Only equipment tested and approved for home canning meets the safety standards for processing low-acid foods. The USDA and NCHFP both advise against using pressure cookers as substitutes.
How long does canning equipment last?
Glass jars can last decades if stored carefully and inspected before each use. Metal bands last several years without rust. Jar lifters, funnels, and basic tools are durable. The only consumable is the flat lid, which you replace with every batch. A water-bath canner or pressure canner, properly maintained, is a one-time purchase that many home canners pass down through generations.