Essential Canning Tools: Jar Lifter, Funnel, and More
A practical guide to the essential canning tools every beginner needs, from jar lifters and funnels to headspace gauges and bubble removers.
A canning pot and jars get most of the attention when someone starts putting up food. The smaller tools that go alongside them often get overlooked until you realize midway through a batch that you have no way to lower a hot jar into boiling water without burning your hand. A few inexpensive accessories make the difference between a stressful session and one that runs smoothly from start to finish.
This guide covers the tools that earn their place on a canning shelf, what each one actually does, and which ones can wait until you need them.
The Jar Lifter
A jar lifter is the piece of equipment most responsible for keeping you safe during a canning session. It grips the neck of a jar so you can lower it into a boiling-water bath or pressure canner, hold it steady while submerged, and pull it back out without slipping.
Hot jars come out of the canner at temperatures above 200°F. Standard kitchen tongs are too narrow to grip the curved shoulder of a canning jar securely. A jar lifter has wide, rubberized jaws designed to wrap around that curve and lock before you lift. That grip matters more when jars are full and your hands are tired at the end of a long batch.
Open the jaws fully before submerging them alongside the jar. Position the grip just below the band. Squeeze firmly before lifting. A jar that slips back into the canner splashes boiling water and can break. Go slowly, and keep the jar upright through the entire transfer to the cooling rack.
If you only buy one dedicated canning tool, make it this one.
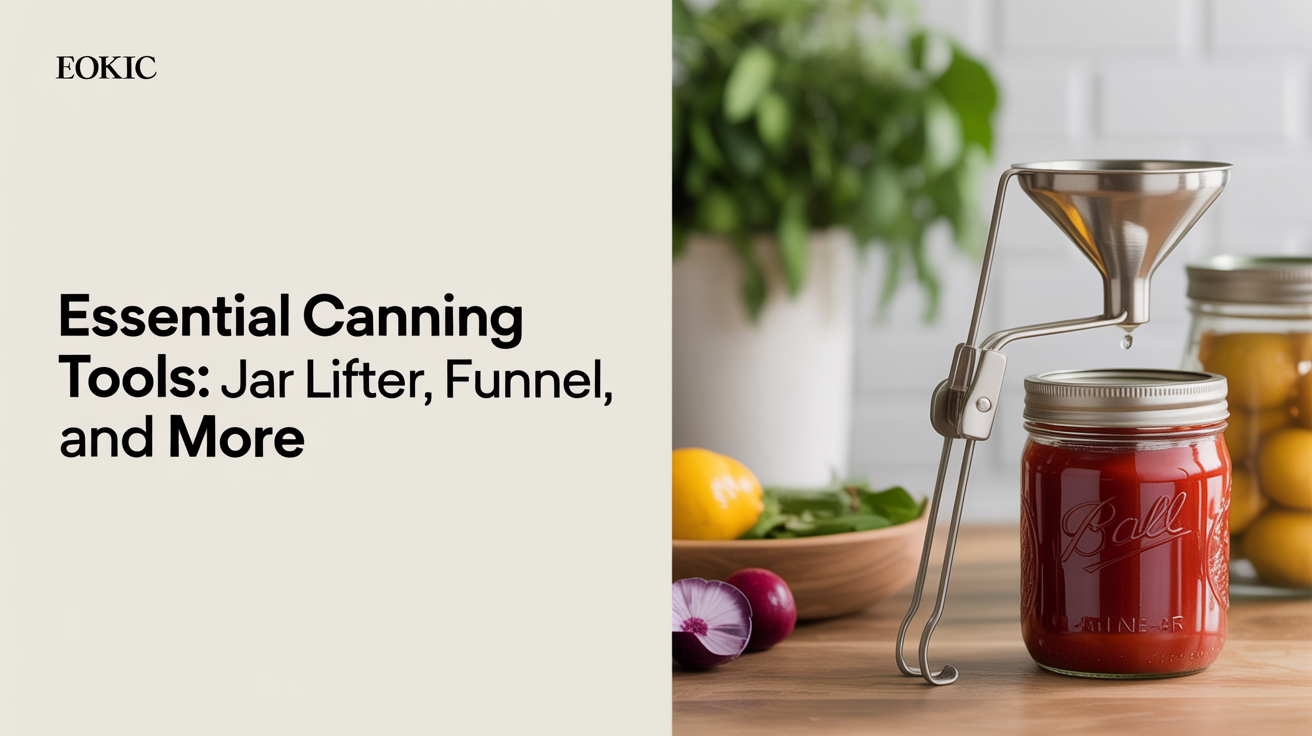
The Wide-Mouth Canning Funnel
A canning funnel is a wide-mouthed plastic or stainless steel funnel sized to fit inside both regular-mouth and wide-mouth Mason jars. Its job is simple: it keeps the jar rim clean while you fill.
A rim with food residue on it can prevent the lid from sealing properly. Jam, salsa, and pickle brine all leave sticky films that are easy to miss. A funnel channels the food into the jar without coating the threads or the flat seating surface where the lid will contact the glass.
Most funnels also have a collar deep enough to rest inside the jar without falling in. That leaves both hands free to ladle. After filling, lift the funnel straight up, wipe the rim with a clean damp cloth, and seat the lid. The wipe is still good practice even with a funnel because a few drops can arc over the edge.
Wide-mouth funnels work in standard-mouth jars too. The reverse is not true, so if you use both jar sizes, buy the wide-mouth version.
The Bubble Remover and Headspace Tool
Most canning starter kits include a long, thin plastic spatula with measurements marked along one edge. That dual-purpose tool does two things: removes air bubbles from packed jars and measures headspace.
Why bubbles matter. Air pockets inside a packed jar can shift the ratio of liquid to solid. In pressure canning for low-acid foods, trapped air also affects heat penetration. After filling, slide the tool along the inside wall of the jar and gently move it back and forth to dislodge bubbles. Work around the perimeter, then down the center. Add more liquid or food as needed to return to the headspace the recipe specifies before you seat the lid.
Why headspace matters. Tested recipes call for a specific headspace (often a quarter-inch for jams, half-inch for most fruits, and more for some low-acid foods) because the gap is calibrated into the processing time. Too little headspace and the contents may push under the lid, preventing a seal or leaving residue on the seating surface. Too much and the jar may not draw a vacuum effectively. Always follow the headspace the recipe states. USDA and NCHFP guidelines are built around those measurements.
The measurement markings on the tool let you gauge headspace without a separate ruler. Hold it against the inside of the jar from the rim down to the surface of the food.
Lid Wand or Clean Tongs
Before they go on the jar, new lids need to be softened briefly in hot (not boiling) water so the sealing compound on the underside is pliable. Getting them out of that hot water without contaminating the sealing surface is the task a lid wand or a pair of clean tongs handles.
A lid wand is a small magnetic tool that picks up a lid from a bowl of warm water and sets it directly onto the jar. It touches only the metal rim, not the compound ring. If you do not have one, a pair of tongs that you reserve only for lids works. The point is to avoid using your bare fingers on the underside of the lid once it has been softened.
Bands go on by hand, finger-tight. Do not overtighten them. Bands hold the lid in place during processing; the actual seal comes from heat and vacuum, not from pressure you apply manually.
Kitchen Towels and a Cooling Rack
These show up in every canning session whether you plan for them or not. A cooling rack (or a folded towel on the counter) keeps finished jars off a cold surface. Direct contact with a cold countertop can cause thermal shock in hot glass. Space jars at least an inch apart on the rack so air circulates.
Keep several clean kitchen towels on hand for wiping jar rims after filling, cleaning up spills, and handling anything warm around the workspace. A wet rim before the lid goes on is one of the more common causes of a failed seal.
What You Can Skip at the Start
A few items get bundled into canning kits that you may not use often:
Jar wrench. Useful if a band seizes onto a jar after storage. Not needed during processing itself.
Canning rack. Most large pots sold for canning include a basic rack. If yours does not, a round cooling rack or even jar bands arranged on the bottom serve the same purpose (keeping glass off the direct heat of the pot floor).
Specialized headspace gauges. The markings on a standard bubble remover tool are sufficient. A separate gauge is not required.
| Tool | Necessary | Optional |
|---|---|---|
| Jar lifter | Yes | |
| Wide-mouth funnel | Yes | |
| Bubble remover / headspace tool | Yes | |
| Lid wand or clean tongs | Yes | |
| Cooling rack | Yes | |
| Jar wrench | Yes | |
| Canning jar rack | Included with most pots |
For a broader look at how these tools fit into a full equipment setup, see Canning Equipment for Beginners: What You Actually Need.
Frequently Asked Questions
Can I use regular kitchen tongs instead of a jar lifter?
Standard tongs do not grip the curved shoulder of a canning jar securely when the jar is full and hot. They can slip, causing burns and broken jars. A dedicated jar lifter is worth the few dollars it costs.
Do I need both a regular-mouth and a wide-mouth funnel?
No. A wide-mouth canning funnel fits inside both jar sizes. Buying one wide-mouth funnel covers all the jars you are likely to use.
What happens if I skip the bubble-removal step?
Air pockets can cause food to float up into the headspace, leave residue on the sealing surface, or affect heat distribution in pressure canning. For high-acid water-bath foods the risk is mainly to seal quality. For low-acid pressure canning it is more important to follow each step as written. Always use the processing method and equipment that a tested recipe specifies.
How do I clean and store these tools between batches?
Wash everything with hot soapy water and dry thoroughly before storing. Plastic tools can warp in the dishwasher over time; hand washing extends their life. Store them together in a dedicated drawer or bag so nothing is missing when you start a batch.
What jar sizes should I be buying for general use?
That depends on what you are putting up. See Mason Jar Sizes Explained and When to Use Each for a breakdown. For lids specifically, including why new lids are required each time, Canning Lids and Bands: Why You Replace Lids Every Time covers the reasoning in detail.