How to Can Apple Butter and Fruit Spreads
Learn how to safely can apple butter and fruit spreads at home using water-bath canning, tested recipes, and proper headspace.
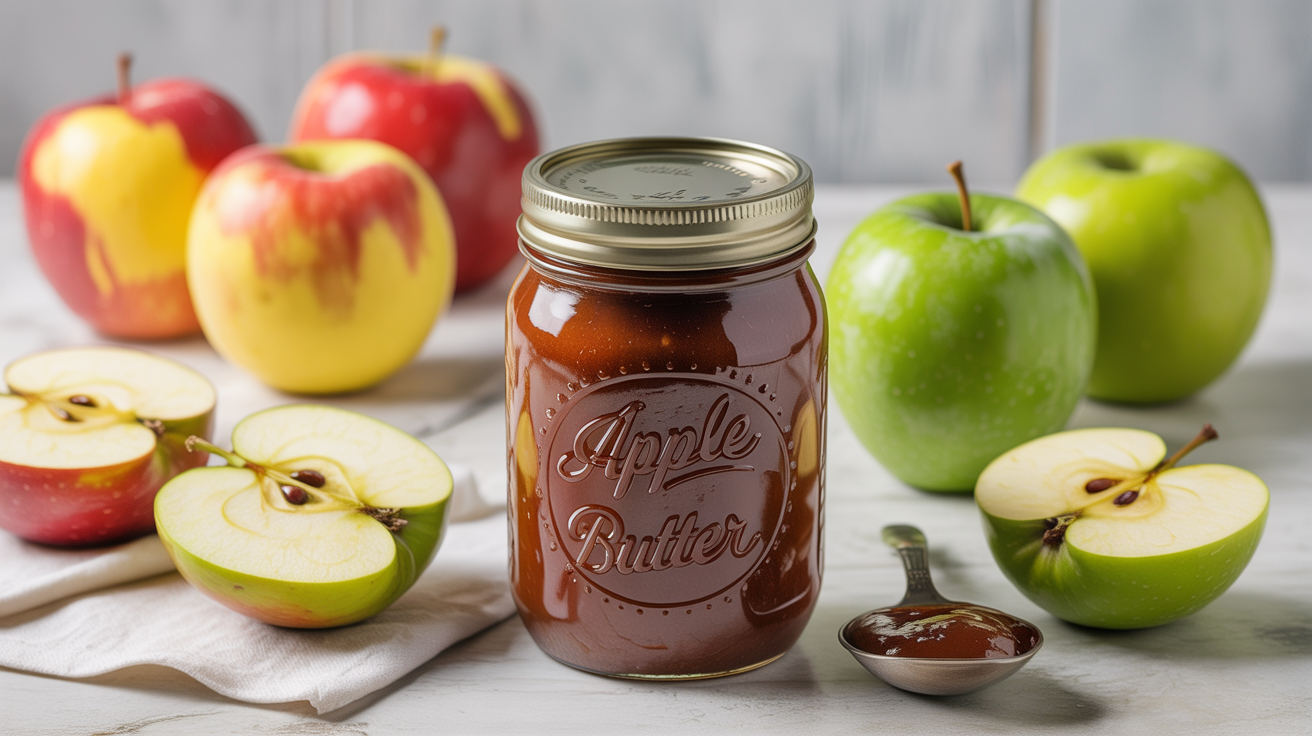
Apple butter sits somewhere between applesauce and jam. It is cooked down long and slow until the sugars caramelize and the texture turns dense, spreadable, and almost silky. Canning it preserves that flavor for months on a shelf, but thick spreads come with a few hazards that regular jam does not. This guide walks through what makes fruit butters safe to water-bath can, how to handle the splatter risk, and what you need to follow when choosing a recipe.
What Fruit Butters Are and Why They Are High-Acid Safe
Fruit butters are made by cooking fruit puree with sugar (and often spices) until a large amount of moisture has evaporated. The name refers to their spreadable, buttery texture rather than any dairy ingredient.
Because they are made from high-acid fruit such as apples, pears, peaches, or plums, fruit butters fall into the same safety category as jams and jellies. Water-bath canning is appropriate for all of them when you use a current tested recipe. The acidity of the fruit prevents the growth of Clostridium botulinum at the pH levels typically found in fruit purees, so a properly sealed jar processed in boiling water is shelf-stable.
What distinguishes fruit butters from jam is the texture and the longer cook time, not the safety method. If you can jam, you can can apple butter using the same pot and the same basic process. The key differences are how you prepare the puree and how carefully you manage the thick mixture on the stove.
For a broader look at how these products compare, see Jam vs. Jelly vs. Preserves: What's the Difference.
The Splatter and Scorch Problem
Thick spreads bubble differently than thin liquids. As apple butter approaches its finished consistency, it traps steam and then releases it in sudden pops, sending hot fruit across your stovetop and your arms. This is not just a mess; it is a burn risk.
A few practices help:
- Use a heavy-bottomed, wide pot so the surface area is large and the liquid evaporates faster with less violent bubbling.
- Lower the heat as the butter thickens. You are not trying to keep a rolling boil; you want a steady, gentle simmer.
- Stir frequently with a long-handled spoon or silicone spatula, scraping the bottom of the pot to prevent scorching.
- Keep the lid partially on or use a splatter screen once the mixture is thick.
Scorching changes the flavor and, in bad cases, can create hot spots that affect how the product heats in the jar during processing. If the butter starts sticking and smelling burnt, lower the heat immediately and stir off the bottom.
Choosing a Tested Apple Butter Canning Recipe
You must use a tested recipe from a reliable authority. The USDA Complete Guide to Home Canning, the National Center for Home Food Preservation (NCHFP), and the Ball Blue Book are the standard references for home canners. These sources have tested specific ratios of fruit, sugar, and acid along with the jar size, headspace, and processing time needed for safety.
Do not adjust the recipe in ways that could lower the acidity or change the density significantly. Adding less sugar, for example, can alter both the texture and the water activity of the final product. Swapping in low-sugar alternatives without guidance from a tested recipe is not recommended.
If you are not sure whether a recipe you found online has been tested, look for a citation to USDA, NCHFP, or a university extension service. Family heirloom recipes, no matter how good they taste, have not been laboratory-tested for safety.
For the underlying science behind setting and texture in fruit spreads, How Pectin Works: Getting Your Jam to Set explains what to expect from different fruit types.
Hot-Pack Method and Headspace
Fruit butters are always hot-packed. This means the cooked, hot butter goes directly into hot, sterilized jars rather than filling jars cold and processing from there. Hot-packing removes air, improves the seal, and produces a more stable product with a longer shelf life.
Steps for filling jars:
- Keep your jars hot in simmering water or a low oven until you are ready to fill them. Cold glass can crack when it contacts a very hot product.
- Ladle the hot apple butter into the jar using a wide-mouth funnel.
- Leave the headspace called for in your specific recipe. For most fruit butters, this is typically 1/4 inch, but follow the exact instruction in your tested recipe rather than assuming.
- Remove air bubbles by running a thin spatula or bubble remover around the inside of the jar.
- Wipe the rim with a clean, damp cloth before placing the lid.
Headspace matters in two ways. Too little and the product can expand during processing and prevent a proper seal. Too much and excess air left in the jar may affect color and quality over storage time. Follow the number in your recipe exactly.
Processing in a Water-Bath Canner
Once jars are filled and lidded, process them in a boiling water-bath canner for the time specified in your tested recipe. The processing time accounts for jar size and your altitude. If you are above 1,000 feet in elevation, consult the altitude adjustment table in your recipe source and add the recommended extra minutes.
| Altitude (feet) | Adjustment |
|---|---|
| 0 to 1,000 | Use time listed in recipe |
| 1,001 to 3,000 | Add 5 minutes |
| 3,001 to 6,000 | Add 10 minutes |
| 6,001 to 8,000 | Add 15 minutes |
| Above 8,000 | Add 20 minutes |
Start timing only once the water has returned to a full boil after lowering the jars in. When time is up, turn off the heat and let the jars sit in the canner for 5 minutes before removing them. This reduces the chance of siphoning, where liquid is drawn out of the jar as pressure changes rapidly.
Set the jars on a towel-lined counter, spaced an inch apart, and do not press on the lids. Let them cool undisturbed for 12 to 24 hours before checking seals.
Checking Seals and Storing Jars
A properly sealed lid will curve slightly downward and will not flex when you press the center. Any lid that pops up and down has not sealed. Refrigerate unsealed jars immediately and use them within two to three weeks.
Remove the screw bands from sealed jars before storing. Bands left on can trap moisture and corrode. Store sealed jars in a cool, dark place. Most fruit butters hold their best quality for one to two years when stored properly, though they remain safe to eat beyond that if the seal is intact.
Before opening any jar, inspect it. If the lid spurts liquid when opened, if there is an off odor, or if the contents look or smell wrong in any way, do not taste it. When in doubt, throw it out.
This same inspection and storage guidance applies to all canned spreads. How to Make and Can Jam: A Beginner's Guide covers the parallel process for jam with additional detail on the water-bath canner setup.
Frequently Asked Questions
Can I use a slow cooker to cook the apple butter before canning? Yes. Cooking apple butter in a slow cooker is a common approach because the low, extended heat reduces the mixture without constant stirring. However, this only applies to the cooking step. You still need to transfer the hot butter to hot jars and process them in a water-bath canner using a tested recipe. A slow cooker is not a canning vessel.
Do I need to add lemon juice to apple butter? Follow your tested recipe. Some recipes include lemon juice to ensure acidity; others rely on the natural pH of the apples. Do not skip lemon juice if it is listed, and do not add it if it is not, as both changes could affect the tested outcome.
Why is my apple butter runny after processing? Fruit butters can loosen slightly during processing. If the finished product is thinner than expected, it is still safe as long as it was made from a tested recipe and processed correctly. Texture variation does not affect safety. Very thin results may mean the butter was not cooked down long enough before canning.
Can I substitute other fruit for the apples? You can make butter from many high-acid fruits, including pears, peaches, plums, and apricots. Each requires a tested recipe specific to that fruit. Do not substitute one fruit for another in an apple butter recipe and assume the processing time and headspace remain the same.
How do I know if my fruit butter has a safe pH? If you are using a tested recipe from USDA, NCHFP, or a university extension source, the pH has already been verified by the testing lab. Home pH meters are not accurate enough to substitute for laboratory testing, so the right approach is to trust the tested recipe rather than trying to measure acidity yourself.