How to Pressure Can Soups and Stocks
Learn how to safely pressure can homemade soups, broths, and stocks using tested USDA guidelines, the only safe method for these low-acid foods.
A pot of homemade vegetable soup or a rich chicken stock represents hours of effort. Turning those batches into shelf-stable jars means you can enjoy them months later without freezer space. The catch is that soups and stocks are low-acid foods, which means they require a pressure canner, not a water-bath pot, for safe preservation.
This guide walks through the process of pressure canning homemade soup and stock, covers what you can and cannot put in a jar, and explains why the method matters so much.
Why Soups and Stocks Must Be Pressure Canned
All plain soups, broths, and stocks are low-acid foods. Their pH sits well above 4.6, which means the bacteria responsible for botulism can survive and produce toxins at that acidity level. Boiling water reaches only 212°F (100°C), and that temperature cannot destroy botulism spores in low-acid foods regardless of how long you process the jars.
A pressure canner raises the internal temperature to 240°F (116°C) at 10 PSI, which is the threshold needed to eliminate botulism spores from low-acid foods. There is no shortcut to this step. If you are new to why this rule exists, the article Why You Can't Water-Bath Can Low-Acid Foods goes deeper into the science.
What You Can and Cannot Can
Approved soups and stocks
Pressure canning works well for:
- Meat-based broths (chicken, beef, turkey, pork)
- Vegetable broth or stock
- Bean-based soups that use only ingredients with tested guidelines
- Soups made from approved combinations of vegetables and meat
The key is sticking to tested recipes from the USDA Complete Guide to Home Canning, the National Center for Home Food Preservation (NCHFP), or the Ball Blue Book. These sources have established processing times for specific soup formulas.
What you cannot safely can
Certain categories of soup are not approved for home canning at all:
- Pureed or cream soups: The dense texture prevents adequate heat penetration.
- Soups with dairy: Milk, cream, butter, and cheese are not approved for pressure canning.
- Soups thickened with flour, cornstarch, or pasta: These interfere with heat distribution inside the jar.
- Soups with noodles or rice already added: Cook these separately and add them after you open the jar.
If your recipe calls for thickening, dairy, or pasta, process the base soup without those ingredients and add them when reheating. That adjustment keeps the jar safe without sacrificing the final dish.
Equipment You Need
Before you start, confirm you have the right tools:
| Item | Details |
|---|---|
| Pressure canner | Dial-gauge or weighted-gauge; a pressure cooker is NOT the same |
| Canning jars | Mason-style jars with no cracks or chips |
| New lids | Bands can be reused; flat lids should be new each season |
| Jar lifter and funnel | For safe handling and clean fills |
| Bubble remover | A thin spatula or dedicated tool to release trapped air |
If you have a dial-gauge canner, have it tested at your local cooperative extension office at the start of each season. An inaccurate gauge means inaccurate pressure, which affects safety.
For a thorough walkthrough of the full pressure canning process from start to finish, see How to Pressure Can: A Beginner's Step-by-Step Guide.
How to Prepare Soup for Canning
Prepare the recipe
Start with a tested recipe. Do not improvise quantities of ingredients or substitute components in ways that change the density or acidity of the soup. The processing times in tested recipes are calculated for specific formulas.
Cook the soup until ingredients are softened but not fully done. The soup will continue cooking inside the jar during processing, so slight undercooking at this stage prevents mushy results.
Fill jars correctly
- Ladle hot soup into hot, clean jars. Keeping jars hot before filling prevents thermal shock.
- Leave 1 inch of headspace. This is more than you use for jams or pickled vegetables, and it matters for soups with solid pieces.
- Run a bubble remover around the inside of the jar to release trapped air pockets.
- Wipe the jar rim with a clean, damp cloth to remove any residue that could prevent a proper seal.
- Place a new lid on the jar and tighten the band fingertip-tight.
Load the canner
Add the amount of water your canner's manual specifies, usually 2 to 3 quarts. Place the rack inside. Load filled jars using a jar lifter, keeping them upright. Lock the lid.
Process at the correct pressure and time
This is where you must defer entirely to your tested recipe. Processing pressure depends on your altitude and whether you use a dial-gauge or weighted-gauge canner. Times differ by recipe, jar size, and canner type.
Do not shorten the processing time to save energy or because the soup looks done. The full time is required for the heat to penetrate to the center of every jar.
Once processing is complete, turn off the heat and let the canner depressurize on its own. Do not rush this by running cold water over the lid or propping the vent open.
After Processing: Cooling and Checking Seals
Remove jars from the canner once the pressure has fully returned to zero and the lid lock has released. Place jars on a folded towel, leaving space between them for air circulation. Do not tilt, shake, or press the center of the lid while jars are still hot.
Let jars cool undisturbed for 12 to 24 hours. After that window, check the seal on each jar by pressing the center of the lid. A properly sealed lid sits concave and does not flex. Remove the bands before storage so you would notice right away if a seal fails later.
Any jar that did not seal within 24 hours should go into the refrigerator and be used within a few days, or reprocessed with a new lid within 24 hours. Reprocessing does affect quality.
Label jars with the contents and the date. Store in a cool, dark location. Properly canned soups and stocks are typically good for 12 to 18 months, though quality starts to decline after that.
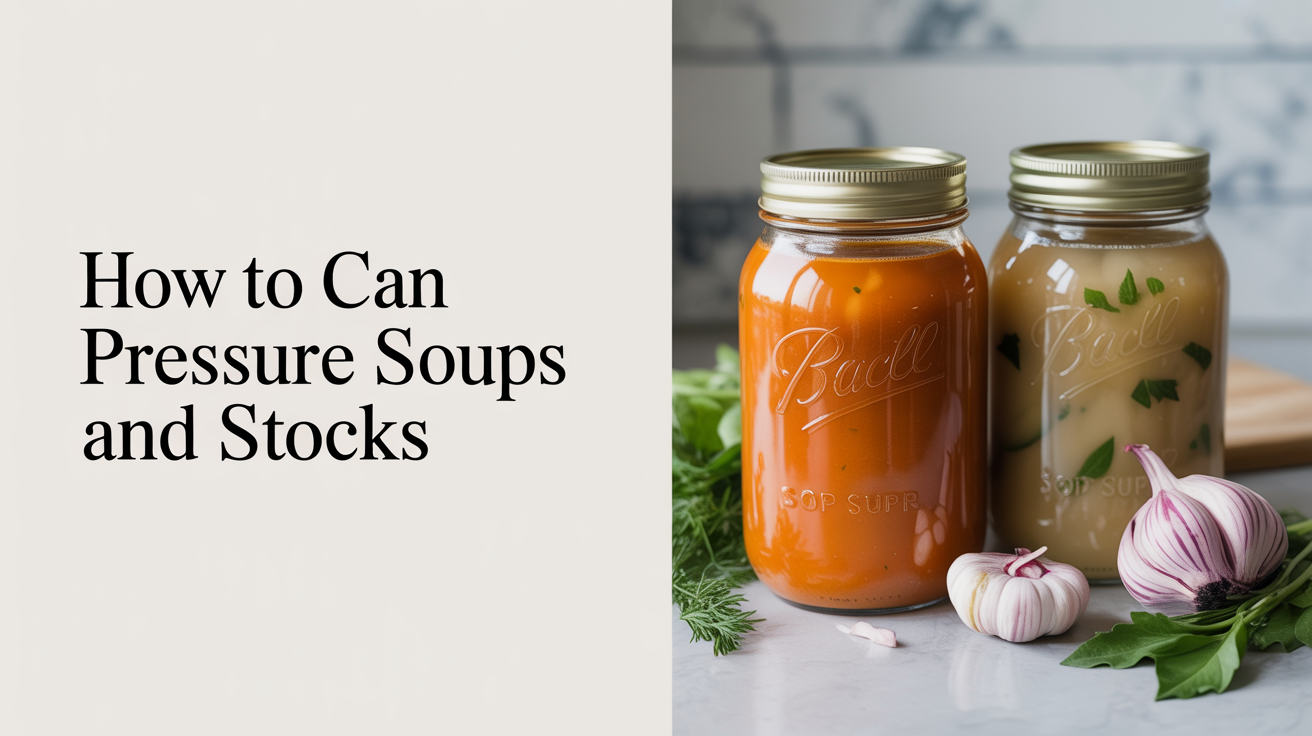
Canning Broth and Stock
Plain broths and stocks are among the most straightforward soups to can at home. They contain no solids that require special density adjustments, and they reheat cleanly for use in other recipes.
The process follows the same steps outlined above. Fill jars leaving 1 inch of headspace, process at the pressure and time called for in a tested broth recipe for your jar size and altitude, and let the canner depressurize naturally.
Canning broth and stock in pint jars is practical for quick weeknight cooking. Quart jars work well when you regularly make large soups or rice dishes. Both sizes are covered in tested guidelines.
For context on which vegetables pair well with pressure canning methods, How to Pressure Can Vegetables covers the specifics of plain vegetable processing.
Frequently Asked Questions
Can I use my own soup recipe instead of a tested one?
No. Untested recipes have unknown density, pH, and heat-penetration characteristics. Processing times in tested recipes are calculated for specific formulas. Using a different recipe, even a similar-sounding one, means the time may be insufficient to eliminate botulism spores. Stick to USDA, NCHFP, or Ball-approved recipes.
Can I add noodles or rice to soup before canning?
No. Pasta and rice absorb liquid during processing, which changes the density of the jar contents and can prevent adequate heat penetration. Add cooked pasta or rice when you reheat the soup after opening.
What if my jar did not seal?
Refrigerate it immediately and use within a few days. Alternatively, within 24 hours of the original processing, you can reprocess the jar with a new lid. Quality will be lower after a second processing.
How do I know if canned soup has gone bad?
Discard any jar with a swollen or bulging lid, spurting liquid when opened, an off odor, or visible mold. Botulism toxin cannot be detected by smell or appearance in every case. When in doubt, throw it out. Do not taste-test a jar you suspect may be spoiled.
Can I can cream of mushroom or cream of tomato soup?
No tested process exists for cream-based soups. The dairy and density make safe heat penetration impossible to guarantee. Can the base without cream, then add dairy when reheating.