Reading Pressure and Processing Times the Right Way
Learn how to read pressure canning PSI and processing times from tested recipes, and why both vary by jar size, canner type, food, and altitude.
Pressure canning has two numbers that matter above everything else: the PSI you maintain inside the canner and the number of minutes you hold it there. Get either one wrong on a low-acid food and you create conditions where dangerous bacteria can survive. That's not meant to alarm you out of trying, but it is the reason this guide focuses entirely on where those numbers come from and how to read them correctly.
Why You Can't Pick a Single Number for All Foods
The PSI and processing time printed in a tested recipe are not arbitrary. They're the result of laboratory testing that accounts for heat penetration into a specific food packed in a specific jar size. Dense foods like whole kernel corn take longer than green beans cut into pieces. Quarts take longer than pints because the center of the jar is farther from the canner's heat.
This is why you'll never find one universal answer to "how much pressure for canning" or "how many minutes." The answer is always: it depends on the food, the jar size, your canner type, and your altitude. The tested recipe tells you all of this at once. Your job is to read those numbers and follow them exactly, not to estimate or split the difference.
If you haven't read through why a pressure canner is required for low-acid foods in the first place, start with why you can't water-bath can low-acid foods before continuing here.
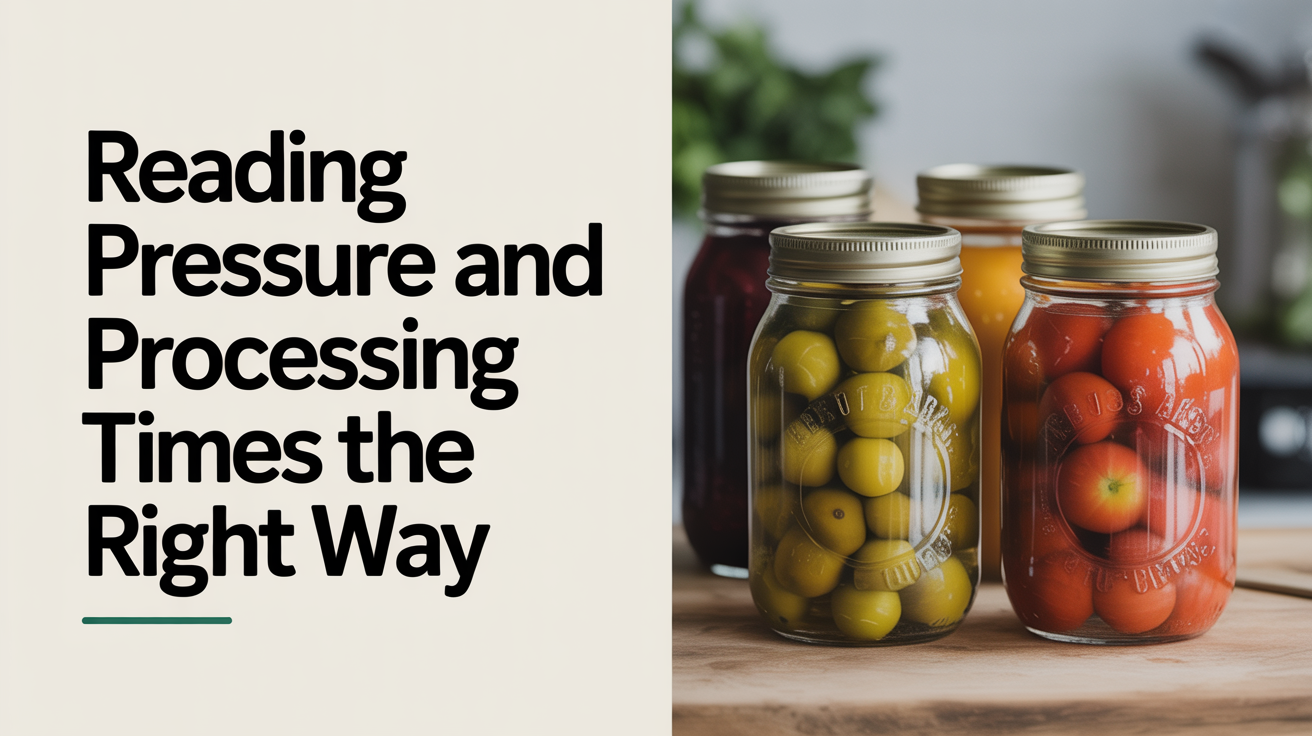
Dial-Gauge vs. Weighted-Gauge Canners
Your canner type determines which column in the chart you use.
Dial-gauge canners have a needle that shows the exact PSI reading. Because the gauge can drift over time, you need to have it tested at your local cooperative extension office once a year. If the gauge reads high or low, the extension agent tells you how much to compensate. You then adjust the pressure you aim for accordingly.
Weighted-gauge canners use a metal weight with preset settings. The weight rocks or jiggles at a specific rate to signal you've reached the target pressure. There's no needle to drift, so annual testing isn't needed. The tradeoff is that the settings are fixed, meaning altitude adjustments work differently than on a dial-gauge model.
When you open a tested recipe, it will list separate instructions for dial-gauge and weighted-gauge canners. Find the column that matches your equipment before you read the pressure value.
How Altitude Changes the Required Pressure
Water boils at a lower temperature at higher elevations, and pressure canners are affected by the same physics. At sea level, achieving the target internal temperature requires a certain PSI. At higher elevations, you need to increase the pressure to reach that same temperature inside the jars.
A rough breakdown of how altitude affects your approach:
| Elevation Range | Adjustment Needed |
|---|---|
| 0 to 1,000 ft | Use the base recipe pressure |
| 1,001 to 2,000 ft | Increase pressure (see tested chart for your canner type) |
| 2,001 to 4,000 ft | Increase pressure further |
| Above 4,000 ft | Higher increase; always check a current tested source |
The specific PSI adjustments differ between dial-gauge and weighted-gauge canners, so you can't apply the same number to both. Look up the adjustment for your exact elevation and canner type in a current USDA or NCHFP chart. If you don't know your elevation, your county extension office or a quick search for your zip code elevation will give you a reliable figure.
This is one of the most common places beginners under-process food without realizing it, particularly when following an older recipe that pre-dates current altitude guidelines or that was written for a different region.
Reading a Tested Recipe: What to Look For
A properly tested recipe from the USDA Complete Guide, the National Center for Home Food Preservation (NCHFP), or current Ball guides will include all the variables in one place. Here's what to confirm before you start:
- Food and pack type (raw pack or hot pack, since these can have different times)
- Jar size (pint, quart, or half-pint if applicable)
- Canner type (dial-gauge vs. weighted-gauge)
- Altitude adjustment, if your elevation is above 1,000 feet
- Processing time in minutes for that exact combination
Do not mix and match. If you have a recipe for green beans but you want to use quarts instead of pints, find the quart processing time in the same tested source. Don't simply add time on your own.
The beginner's step-by-step guide to pressure canning walks through how to use these numbers during an actual canning session, including how to bring the canner up to pressure and hold it steady.
When to Start and Stop Your Timer
Beginning canners sometimes wonder exactly when the processing time starts. The answer: you begin timing only after the canner has reached the required pressure, not when you first turn on the heat.
The sequence looks like this:
- Vent steam steadily for 10 minutes before placing the weight or closing the petcock.
- Once the canner reaches the target PSI (or the weight starts rocking correctly), start your timer.
- Maintain that pressure for the full processing time. If pressure drops below the target at any point, bring it back up and restart the timer from zero.
- When time is up, turn off the heat and let the canner depressurize naturally. Do not run it under cold water or try to speed up the process.
Rushing the venting phase or not restarting the timer after a pressure drop are the two most common procedural mistakes. Both result in under-processing.
How to Find Tested Processing Times
Reliable sources for pressure canning times and PSI:
- USDA Complete Guide to Home Canning (available free from NCHFP)
- National Center for Home Food Preservation at nchfp.uga.edu
- Ball Blue Book Guide to Preserving (current edition)
- Your state's cooperative extension office, which may publish region-specific guides
Avoid older cookbooks without clear publication dates, social media recipes without sourced citations, and anything that tells you one pressure and one time will work for all foods. Those shortcuts are how food safety errors happen.
If you're planning to pressure can vegetables specifically, how to pressure can vegetables covers the preparation steps alongside the chart-reading process for common vegetables like green beans, corn, and carrots.
Frequently Asked Questions
Can I use the same PSI and time for every food in the pressure canner?
No. Pressure and time are food-specific and jar-size-specific. A tested recipe for green beans will list different values than one for potatoes or chicken broth. Always use the values from a tested recipe matched to your exact food, jar size, and canner type.
What if my altitude falls between two ranges in the chart?
Use the higher adjustment. When in doubt, more pressure is safer for low-acid foods than less. Under-processing creates conditions where harmful bacteria may survive; over-processing affects texture and quality but not safety.
My old family recipe doesn't list a PSI or processing time. Can I follow it?
Not safely, no. Many traditional recipes pre-date modern food safety research. Find the equivalent food in a current USDA or NCHFP chart and use those tested values instead. The technique can stay the same; the numbers need to come from a tested source.
Do I need to adjust anything if I'm at sea level?
At sea level, you use the base pressure listed in the recipe with no upward adjustment. The altitude adjustments only apply above 1,000 feet. If you're close to sea level, confirm your elevation once and you won't need to think about it again.
What should I do if my pressure drops during processing?
Bring the canner back up to the required pressure and restart the timer from zero. The processing time guarantees safety only when the full time is completed at or above the target pressure. A partial run at pressure does not count.