Water-Bath Canners and Stockpot Alternatives
Learn what a water-bath canner actually does, the two requirements any pot must meet, and how to improvise with gear you already own—safely.
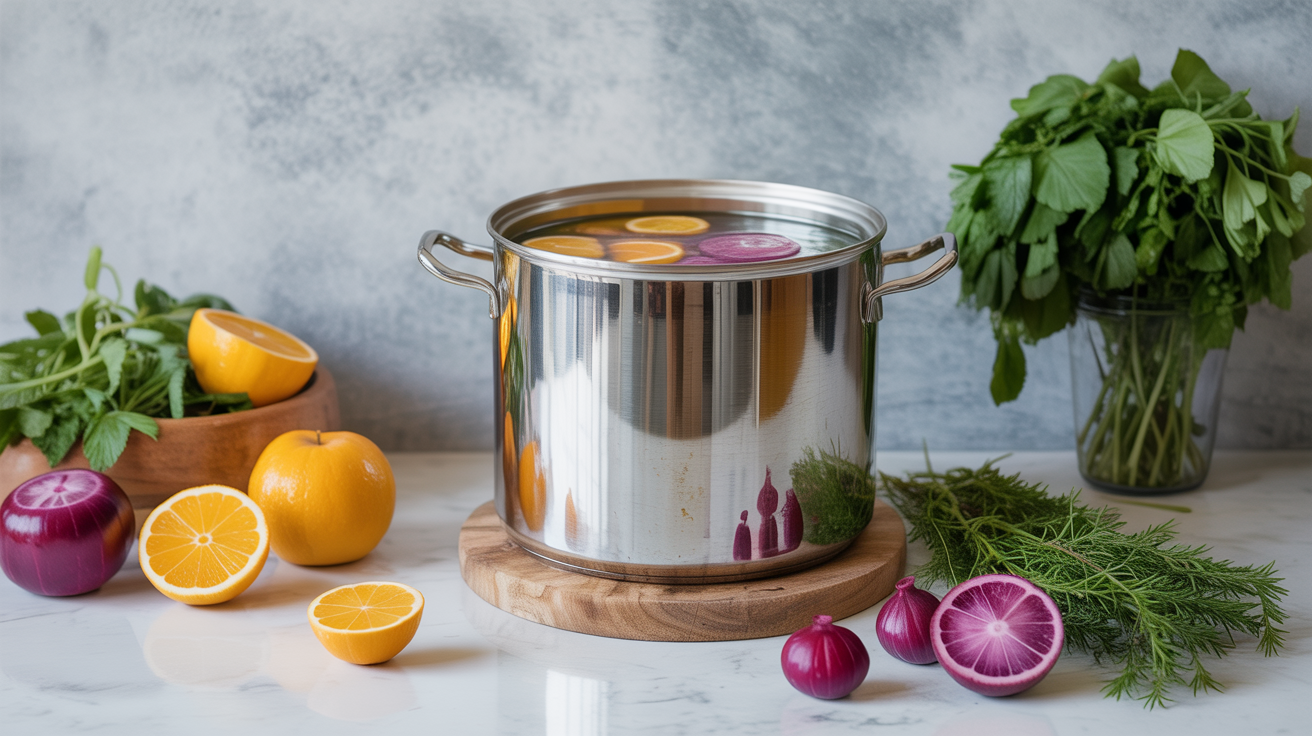
A water-bath canner is not a mysterious piece of specialty gear. At its core it is just a large, deep pot with a lid and a rack that keeps jars off the bottom. Understanding exactly what those two features accomplish will help you decide whether to buy a dedicated canner, pull a stockpot out of the cabinet, or pick up a simple rack to make your existing gear work.
One critical safety note before anything else: water-bath canning is only safe for high-acid foods such as jams, jellies, pickles, and most fruits. Low-acid vegetables, meats, and soups require a pressure canner. Nothing in this article changes that rule. When in doubt, consult the USDA Complete Guide to Home Canning or the National Center for Home Food Preservation (NCHFP) and follow a tested, approved recipe to the letter.
What a Water-Bath Canner Actually Does
Heat is the mechanism. During processing, boiling water (212 °F at sea level) surrounds the jars completely and holds them at that temperature long enough to destroy spoilage organisms in high-acid food. Every design element of the pot supports that job.
The two non-negotiable requirements
Any pot you use for water-bath canning must satisfy exactly two conditions:
-
Deep enough. There must be at least 1 to 2 inches of actively boiling water above the tops of the jar lids throughout the entire processing time, plus a few extra inches of headspace so the pot does not boil over. Measure your tallest jar and add 3 to 4 inches minimum. A quart jar stands about 7 inches tall, so a pot at least 10 to 12 inches deep is a reasonable starting point.
-
Fitted with a rack. Jars must never rest directly on the pot's bottom. Direct contact with scorching metal can crack jars and, more importantly, it prevents boiling water from circulating beneath them. A rack holds jars slightly elevated so water moves freely on all sides.
If a pot meets both requirements, it can work as a water-bath canner. If it fails either one, it should stay in the kitchen for soup.
Why the rack matters more than people expect
The rack serves two purposes that are easy to overlook. First, it buffers jars from the intense heat of the burner, reducing thermal shock. Second, it keeps lids submerged rather than resting on the pot floor, which means water can circulate under and around each jar evenly. Uneven heat distribution can lead to under-processed food. That is a real safety concern, not just a textbook worry.
Your Options: A Comparison
Here is a plain look at the common setups, their strengths, and what to watch out for.
| Option | Deep enough | Built-in rack | Notes |
|---|---|---|---|
| Dedicated enamel water-bath canner | Yes, typically 11-12 in | Yes | Affordable entry point; wide base fits many burners; rack has handles for lifting jars |
| Stainless or aluminum stockpot with a rack | Depends on pot | No (add separately) | Works well if the pot is deep enough; a cake-cooling rack or extra bands tied together can serve as the rack |
| Large pasta or tamale pot | Depends | No | Often deep enough for half-pints and pints; measure before committing |
| Steam canner | Shallow by design | Yes (platform) | Accepted for some high-acid foods per tested recipes only (see below) |
Dedicated enamelware canners
The classic blue-speckled enamel pot has been in hardware stores for generations. It typically holds seven quart jars or nine pint jars at once and comes with a wire rack with folding handles, so you can lower and raise a full load of jars at once. For most beginners, this is the path of least resistance. It costs less than a pressure canner, it is purpose-built, and the rack is already included.
One thing to know: enamel canners with flat bottoms are not recommended for smooth-top or induction ranges by some manufacturers. Check your cooktop's manual and the canner's documentation before you buy.
Stockpots and pots you already own
A stockpot that is deep enough is a perfectly legitimate water-bath canner. You just need to add a rack. Options include:
- A round cake-cooling rack that fits the pot's interior
- A silicone trivet or steamer insert with openings large enough for water flow
- Extra canning bands (the rings, not the lids) nested together and laid flat on the pot bottom, which is an old homesteader trick that actually works
- A small folding vegetable steamer basket with the center post removed
Check clearance before you start: place your rack in the pot, set in a jar, fill with water to cover the lid by 2 inches, and verify the water line stays at least 2 inches below the pot rim. If it does, you are set.
See the full rundown of what gear you actually need in our guide to canning equipment for beginners.
What About Steam Canners?
Steam canners use steam rather than boiling water to process jars. They look like a shallow dome with a flat base. For years, extension services and the NCHFP discouraged them because early research was limited. That guidance has since been updated.
The NCHFP now accepts steam canners for high-acid foods when you follow a tested recipe specifically cleared for steam canning. Not every water-bath recipe transfers automatically. The processing time and validation conditions differ, and not all tested recipes have been evaluated for steam canners. If you use one, confirm that your specific recipe has been tested and approved for that method before you proceed.
Steam canners are not a substitute for pressure canners and still apply only to high-acid foods.
What NOT to Use
A few setups that come up regularly and should be avoided:
A pot that is too shallow. If the water cannot cover jar tops by at least 1 inch during a rolling boil, food will not reach safe processing temperatures. This is the most common improvised-canning mistake.
A slow cooker or Instant Pot in slow-cooker mode. Neither consistently reaches or maintains the temperature required. Some manufacturers explicitly prohibit canning in their appliances; check your manual.
A pot without any rack. Jars sitting on bare metal are at risk of breaking, and heat distribution around the jar is uneven enough that processing integrity cannot be assumed.
An oven. Oven canning is not an approved method. Dry heat behaves differently from boiling water, and glass jars are not designed for that environment.
Picking the Right Setup for Your Kitchen
If you are canning for the first time, the simplest path is usually a dedicated enamel canner from a hardware or farm-supply store. The rack is included, the depth is already sized for quart jars, and the cost is low. If you have a large stockpot that clears the depth requirement, add a cake-cooling rack and you have a functional canner for no additional cost.
The things worth prioritizing, in order:
- Confirm the pot is deep enough (measure, do not guess)
- Have a rack solution before you fill a single jar
- Make sure your heat source is compatible with the pot's bottom
- Keep a jar lifter on hand, because wet jars are slippery and hot
For a deeper look at jar sizes and how they affect which pot you need, see our guide to mason jar sizes explained. If you are also wondering about lids and bands, including why the rack-band improvisation uses bands rather than lids, the answer is covered in our guide to canning lids and bands.
FAQ
Can I use a regular stockpot instead of a water-bath canner?
Yes, if it meets both requirements: deep enough to cover jar tops by 1 to 2 inches of boiling water, and fitted with a rack to keep jars off the bottom. Many large stockpots qualify. Add a cake-cooling rack or a layer of extra canning bands as your rack and you are ready to go.
How deep does my pot need to be?
Add the height of your tallest jar, 2 inches of water above the lid, and 2 inches of buffer below the rim so the pot does not boil over. For standard quart jars (roughly 7 inches tall), a pot at least 11 to 12 inches deep is a safe starting point. Pint jars give you a bit more flexibility.
Is a steam canner the same as a water-bath canner?
Not exactly. Steam canners use steam rather than submerged boiling water. They are now accepted by the NCHFP for certain high-acid foods, but only when following a tested recipe that specifically approves steam canning. They are not interchangeable with water-bath canners for every recipe, and they are never a substitute for a pressure canner.
Can I use a pressure canner for water-bath processing?
Yes. A pressure canner is a large, heavy pot and you can use it as a water-bath canner by leaving the weight or gauge off and processing with the vent open and the lid loosely in place. Follow the NCHFP guidance on this if you go that route, since the setup differs slightly from a standard water-bath pot.
Where can I find tested water-bath canning recipes?
The safest sources are the USDA Complete Guide to Home Canning (free online through the NCHFP at nchfp.uga.edu), the National Center for Home Food Preservation website, and the current Ball Blue Book Guide to Preserving. Recipes from blogs, family cards, or older cookbooks may not reflect current safety standards. Always cross-reference with a tested source before canning.